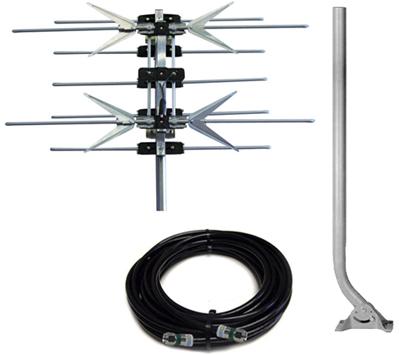
In part one of this series, we looked at a 44-year-old antenna that’s still going strong after all these years. Now we’re looking at the Winegard HD1080 kit from Solid Signal. This is one of Solid Signal’s less expensive antenna kits, suitable for up to 40 mile directional reception.
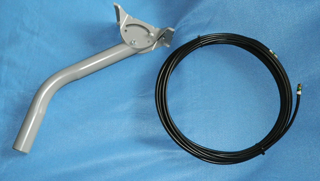
The antenna comes securely packed with the mast and cable in a separate box. The cable is serious quality SolidSignal-branded cable that will definitely outperform the old twin-lead cable I’m using now. I know what this antenna is supposed to look like, and judging by the box, some assembly is required.
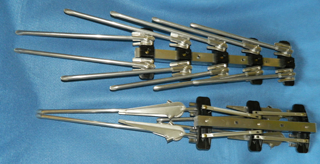
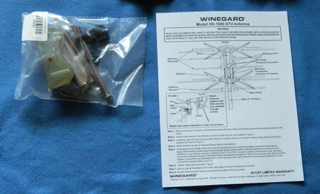
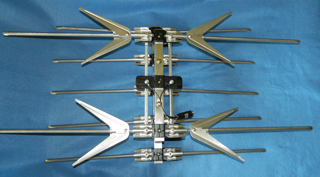
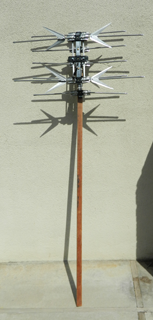
The box comes with everything you see in these pictures: The mostly assembled antenna in two major pieces, the bag of miscellaneous hardware, and a set of instructions. The instructions are also available at solidsignal.com in the documents tab.
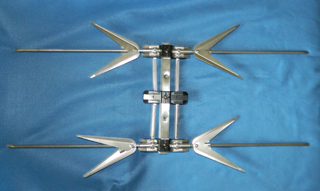
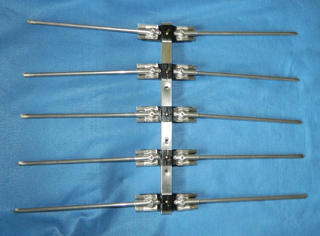
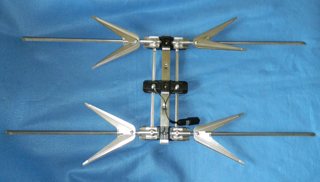
Assembly is actually fairly easy. Spread the elements of the antenna apart and they click securely in place. Because I knew I would not be mounting this antenna permanently I skipped the part where you mount it to the mast.
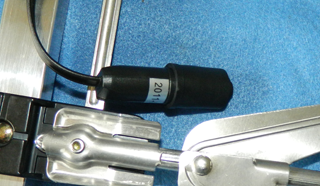
I also took things a little out of order. There is a matching transformer that connects to the 75 ohm cable. The instructions want you to do final assembly before connecting it but it seemed easier to connect it first.
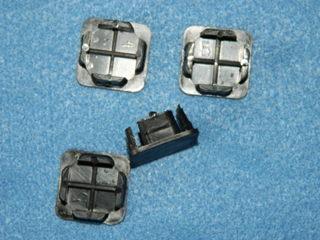
Final assembly consists of attaching spacers between the two pieces and bolting them together, and attaching plastic feet to the antenna in four locations to keep moisture out.
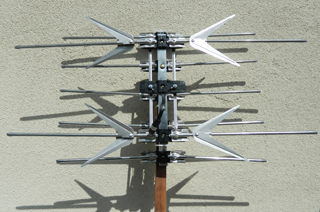
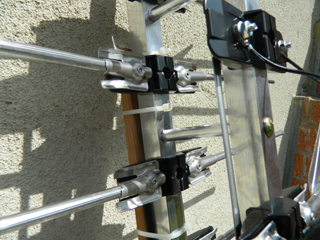
Because this was a temporary installation I zip-tied the antenna to a wooden fencepost. I had originally planned to zip-tie it to a ladder but my friends at Solid Signal reminded me that using an aluminum ladder might interfere with reception. In the right side picture you can also see the spacers between the two antenna pieces.
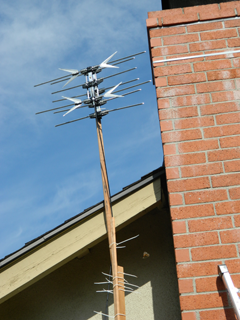
Note to you all: This is not how you mount a permanent antenna. You want to make sure that antennas are securely fastened and grounded. This is a temporary installation.
With my antenna zip-tied to the post, I zip-tied that post to another post to get the height I would need. To be fair I probably should have gone up another 6 feet but then I would have needed to bolt those fenceposts together. Zip-ties will only take you so far.
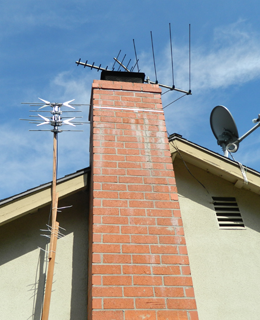
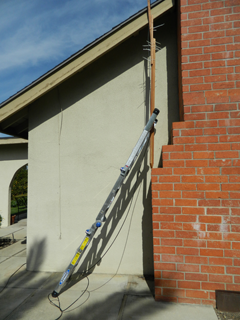
I got the new antenna up past the roof line, within about 4 feet in height of the old one. I put the bottom of the post up against my chimney and leaned the ladder in to steady it. I used a compass to aim the whole antenna slightly northwest to be able to see the towers. You can see that my old antenna is aimed almost exactly 90 degrees off. I still don’t know why, but why mess with success?
Results
With the roof-mounted “geezer” I got 22 major channels. With the HD1080 I only got 18. Interestingly enough two of the channels I don’t get are on the same tower, but on different frequencies. Still, for being lower than the permanent installation as well as being a temporary aiming job it’s not so bad. If this were permanent I would probably have gone higher, to clear the line of sight more easily, and aimed more carefully. I might have gotten more channels that way.
If I were buying that old antenna today, it would have been about twice the price of the HD1080. Based on my results, it probably would have worked better than the HD1080 but required more mounting.
It’s hard to declare a winner here, but that’s the point. Getting the right antenna for your needs is important and sometimes you can get the same results using two very different devices. So, buy carefully, mount carefully, and remember to ground your antenna!