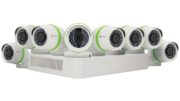
It’s an instant security system. What’s even better is that you can use it anywhere. It’s the PlugCAM, and it’s the subject of out latest “Hands On” series of reviews. Let’s look at the mobile apps and what they can do for you.
Once you’ve plugged the camera into the wall and connected the powerline adapter to the router and plugged it in, one of the green lights on the side of the camera will start to flash. This is the only indication that the system is working, but it’s all you need to know. It’s time, then, to install the mobile app.

There are apps for the iPhone and Android available in the App Store and Google Play, respectfully. Both are free. They are no-nonsense, no-frills apps, without even a really good description to let you know what they are. They’re called, simply, “PlugCAM.” There is no iPad or Android tablet optimized version, and there is no version at all for Windows Phone or Windows RT.

Once the app is launched, you have the option to find the camera one of three ways. If you haven’t set up the camera before, the easiest is the QR code option. There is a code on the bottom of the camera; using your device’s built-in camera you can feed its information into the phone which is a LOT easier than typing all those letters and numbers into the device. (Looking at the bottom of the camera you will the camera name and password in a form you can read, in case you don’t have a working camera on your device.)

When the device is found you must give it a name and change the default password. Changing the password will make it impossible to use the QR code method for setting up additional cameras.

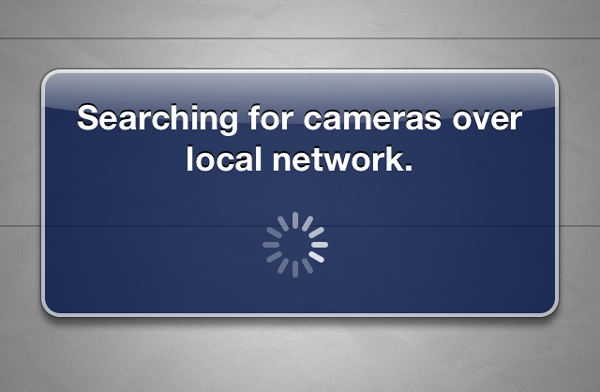
There is no limit to the number of devices that can have the PlugCAM software, although only three of them can be using it at one time. If you have already set up one, the easiest thing to do is use the “Search for camera over local network” option. If your device is on the same network as the PlugCAM it will be automatically found and you will be prompted for the password. Enter the password you used when you named the camera.

The next time you start the PlugCAM app, you will see all the cameras you have set up. Tap on a camera to start using it. It’s that easy.

If you hold your device in portrait mode, you get a display like the one above. You see the resolution and the number of people viewing. Toward the bottom of the screen is a “snapshot” button. This doesn’t actually put a snapshot in your camera roll; it puts them in the “Albums” where they can be stored or deleted later. To get to snapshots you’ve taken, tap on the “Albums” icon at the bottom.

If you hold the device in landscape mode, you see a full-screen display.

The PlugCAM has a ring of infrared LEDs enabling it to be used in full darkness. The image above was taken in a completely darkened room; the Android client is shown. A quick Google search seems to show that cats can’t see infrared, so it’s just a coincidence that the cat is looking at the camera.
General impressions
The one area of concern is data usage. Using a data metering app we observed that the PlugCAM will take about 1 gigabyte of data for every hour of viewing in its default setting. There are lower quality settings but even the lowest uses 200 gigabytes an hour. If you are on a relatively small data plan, that can be a consideration. It is really best to use the PlugCAM where you can get free Wi-Fi, unless you have planned ahead with an appropriately sized data plan.
The unit itself does not have a zoom of any kind, and the tilt and pan are purely manual. So, it’s best to mount the PlugCAM with care; close enough to observe the action but far enough away to take it all in. The included keyhole slots give a lot of flexibility in mounting. It’s also possible to mount the camera upside down or even point it in a mirror, since the included controls let you automatically flip the image around.
This is a very powerful camera for the money and in the next article, we’ll show the free PC app that lets you turn it into a full featured security system with DVR.