
This tutorial has been completely revised. Check out these articles for satellite setup for any DIRECTV receiver or DVR installed after 2019.
Satellite Setup Video for Older Receivers
Easy Satellite Setup for DIRECTV, 2021 and beyond
WHITE PAPER: How to check and set your satellite setup
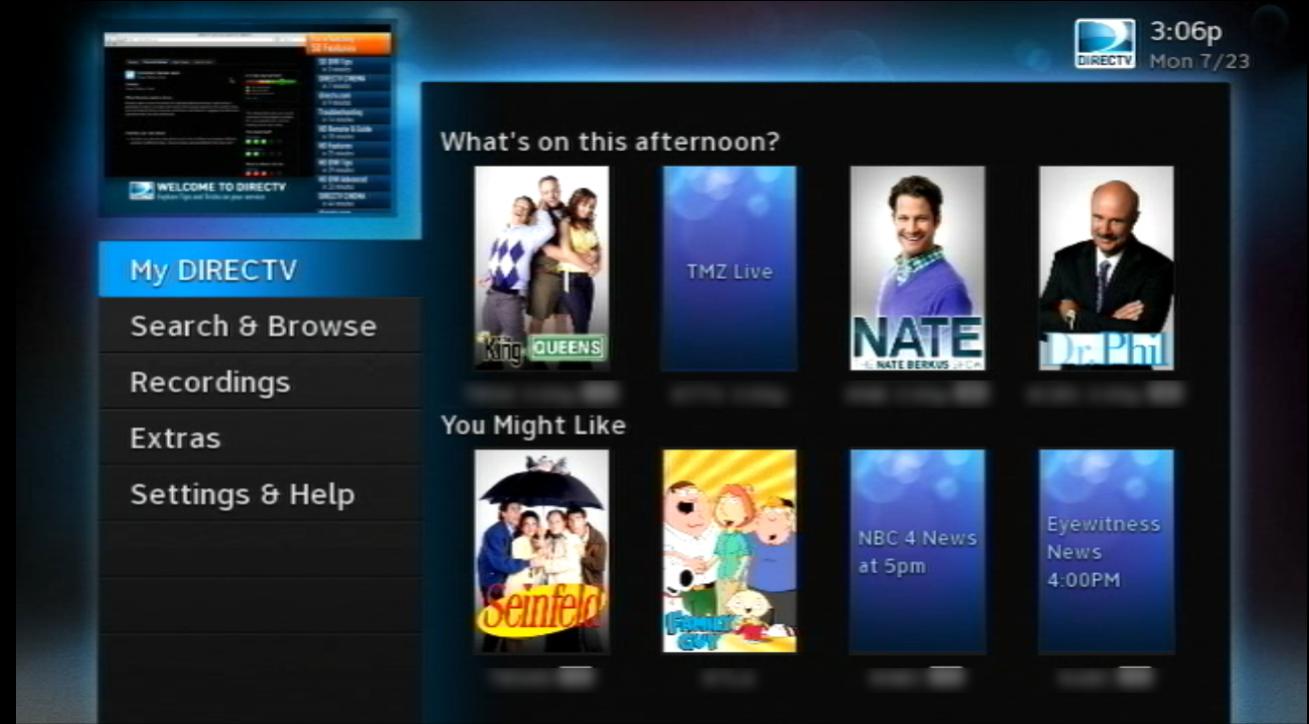
Start by pressing the {MENU} button. You’ll see the MY DIRECTV menu as shown above. If all you want to do is check your setup, it’s easy to do.
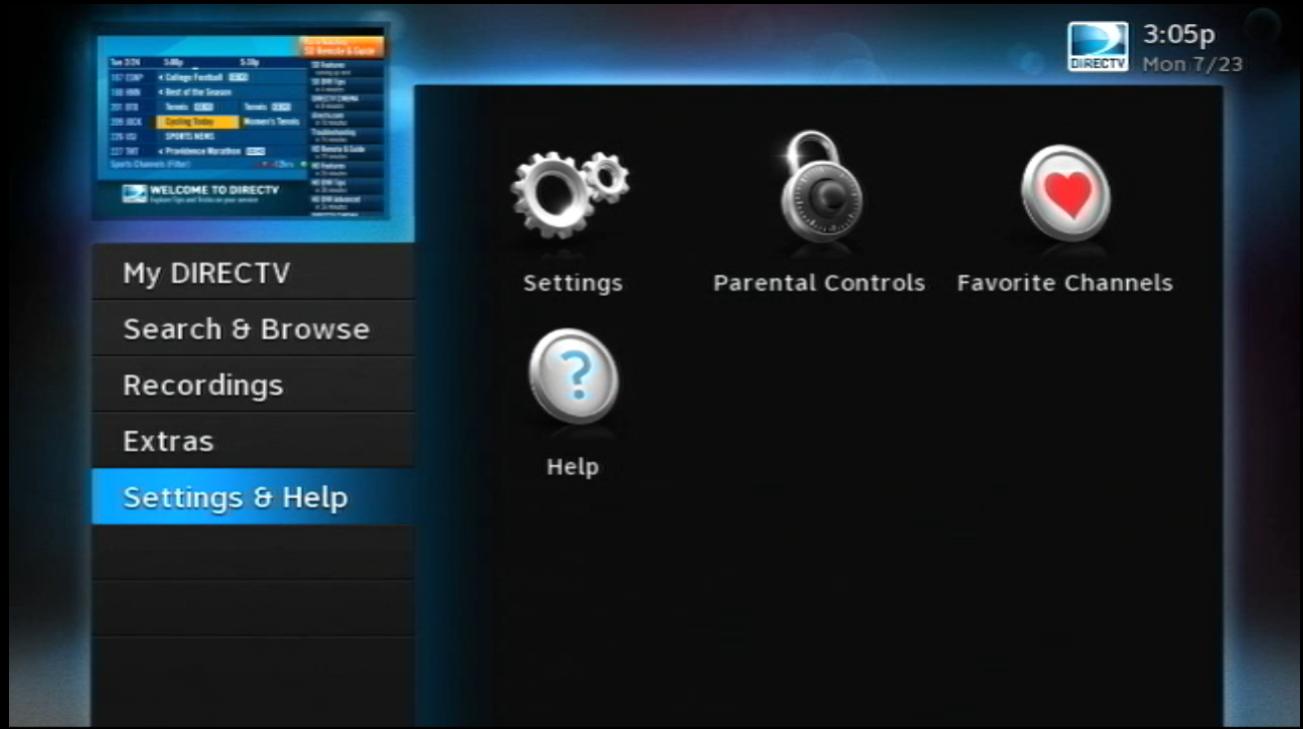
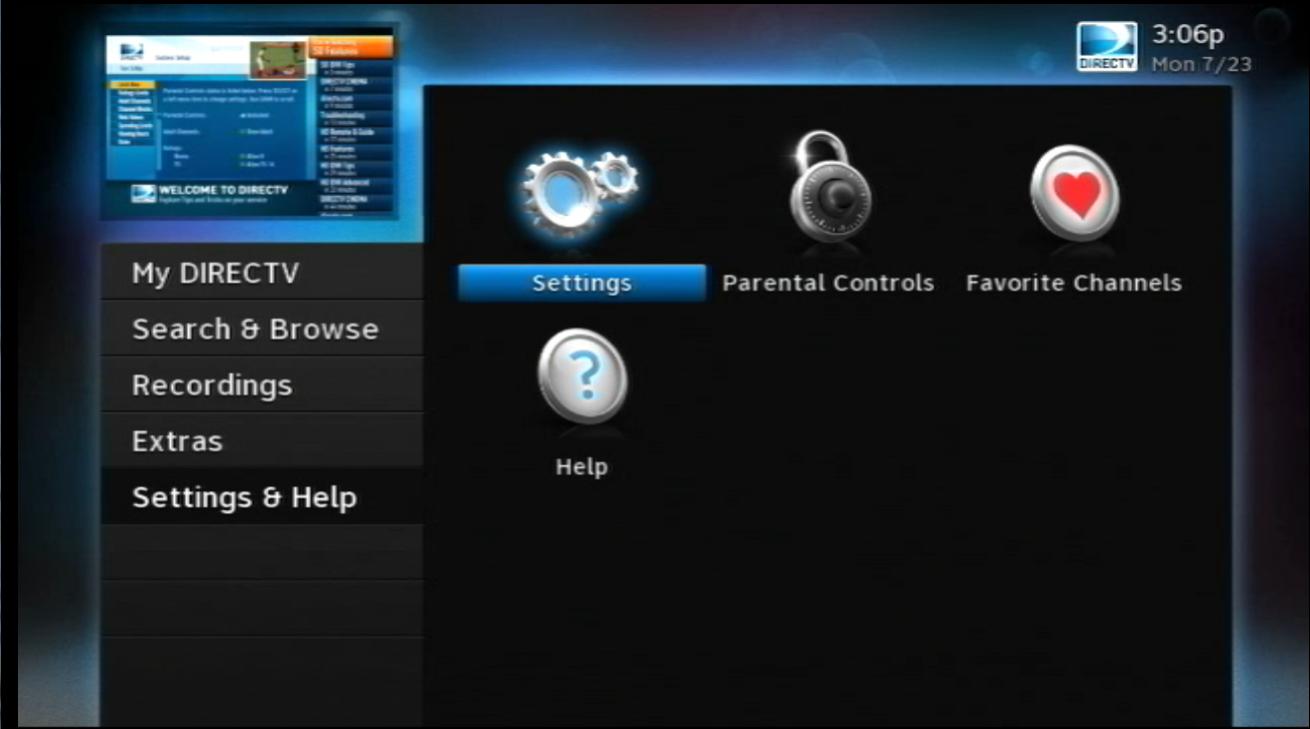
Arrow down to “Settings & Help” and press {SELECT}. Then, with “Settings” highlighted, press {SELECT} again.
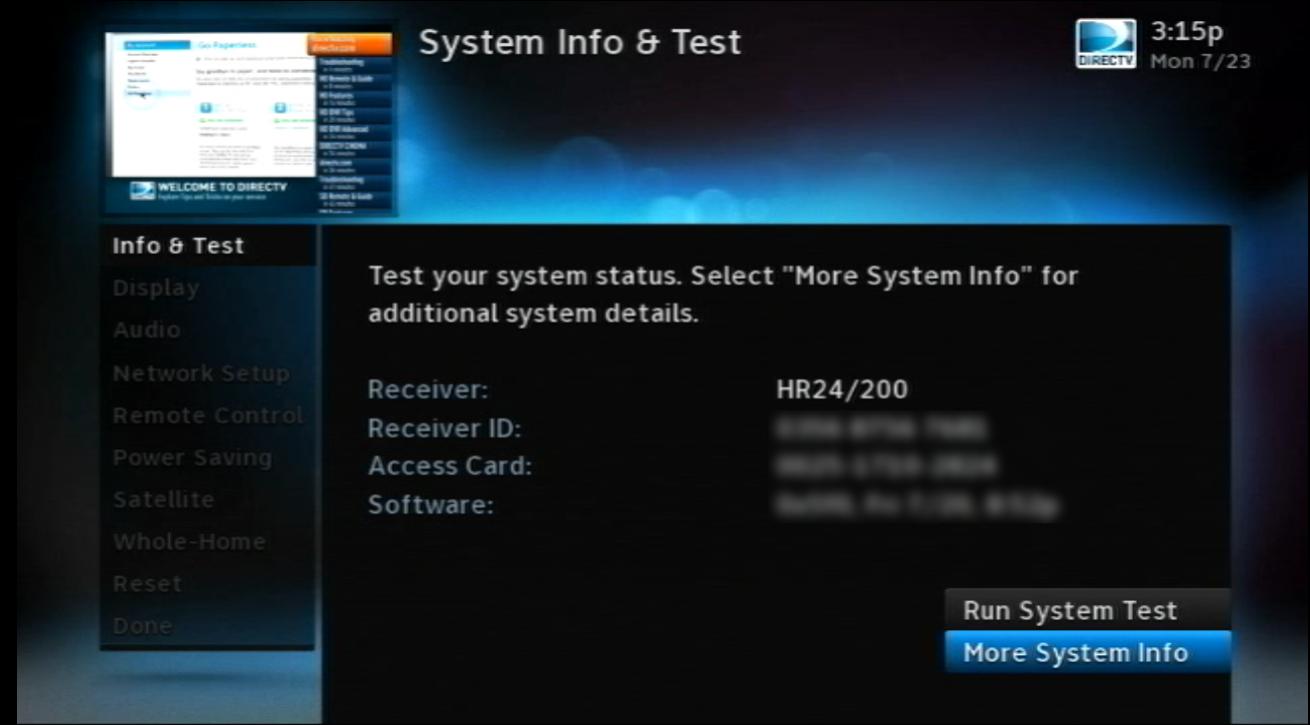
With “Info&Test” highlighted, press {SELECT.} Arrow down to “More System Info” and press {SELECT} again.
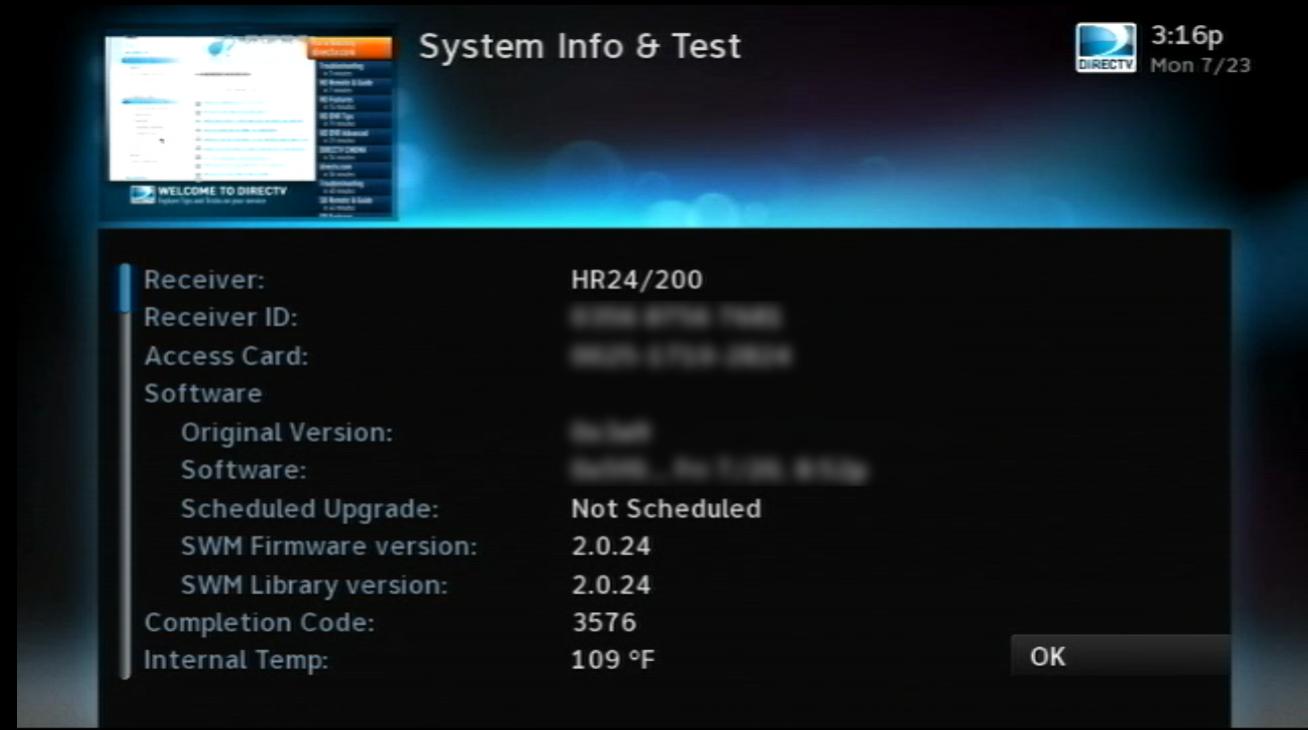
You’ll see a lot of information. If you have a Single Wire Multiswitch (SWM) you’ll see lines for SWM Firmware version and SWM Library Version. If you don’t have a SWM, you won’t see these items.
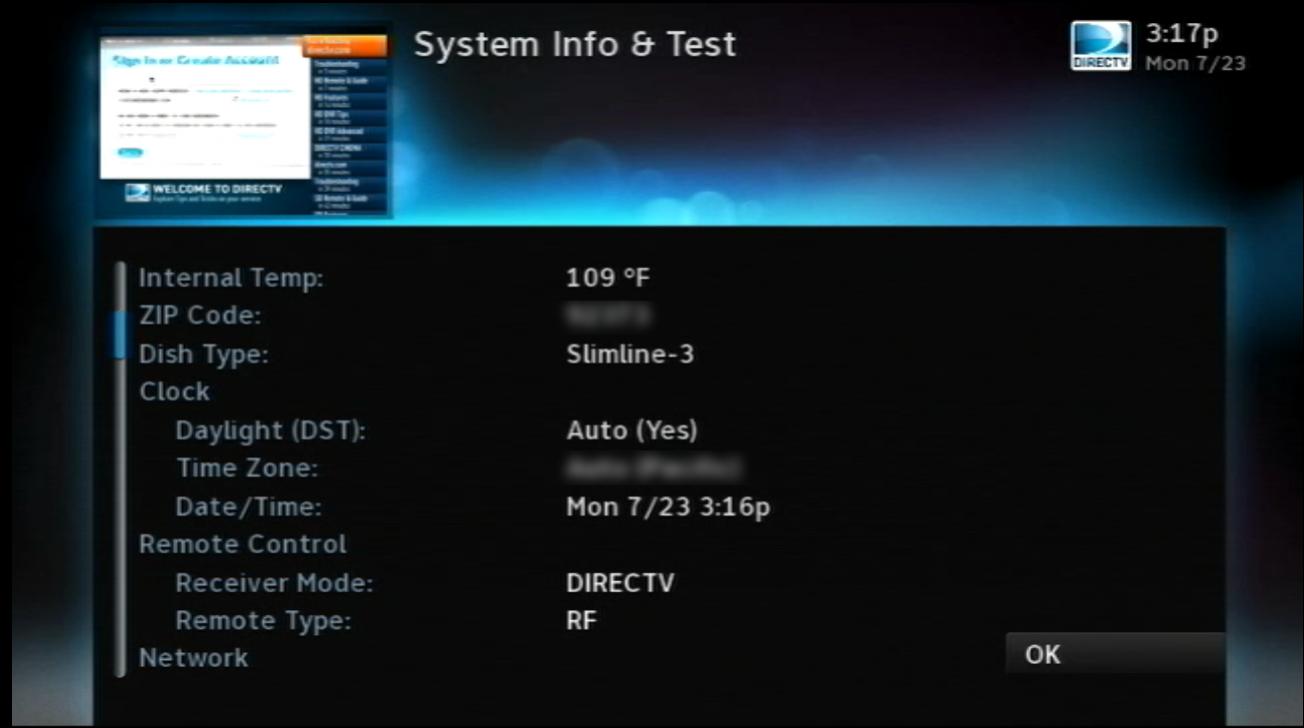
Press the {CHAN/PAGE Down} button. On the next screen you’ll see the dish type.
When you’re done, arrow over to “OK” and press {SELECT.} Then press {EXIT} to return to live TV.
Checking Signal Strength
If you need to check your signal strength, the procedure is very similar. Again, start by pressing {MENU}.
Arrow down to “Satellite” and press {SELECT}. Then, with “View Signal Strength” highlighted, press {SELECT} again.
You can highlight the + and – buttons to change which satellite you’re looking at and which tuner. It is normal to see zeros or “N/A” on some satellites, but if you see nothing but zeros, or even a lot of zeros or numbers under 70, there is a problem.
When you’re done, arrow over to “Done” and press {SELECT.} Then press {EXIT} to return to live TV.
Redoing satellite setup
If you need to redo satellite setup, the procedure is very similar to checking signal strength. Again, start by pressing {MENU}.
Arrow down to “Settings & Help” and press {SELECT}. Then, with “Settings” highlighted, press {SELECT} again.
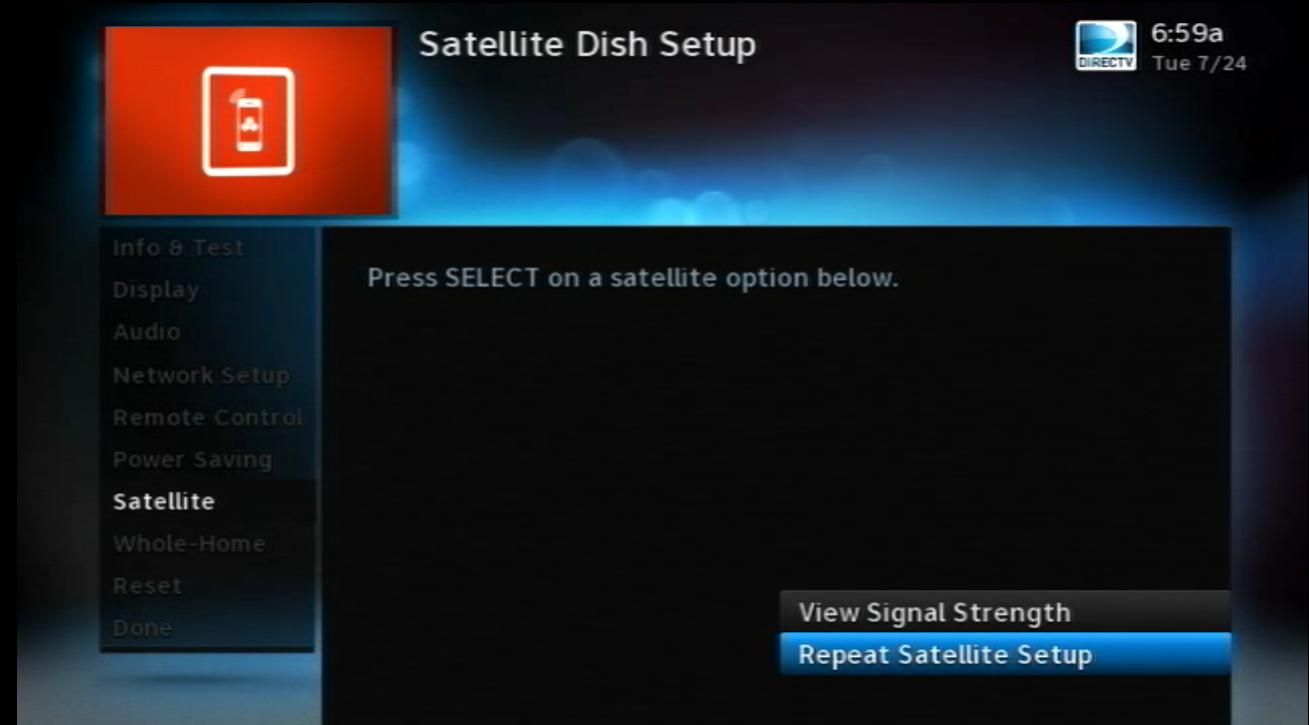
Arrow down to “Satellite” and press {SELECT}. Then, arrow down to “Repeat Satellite Setup” and press {SELECT} again.
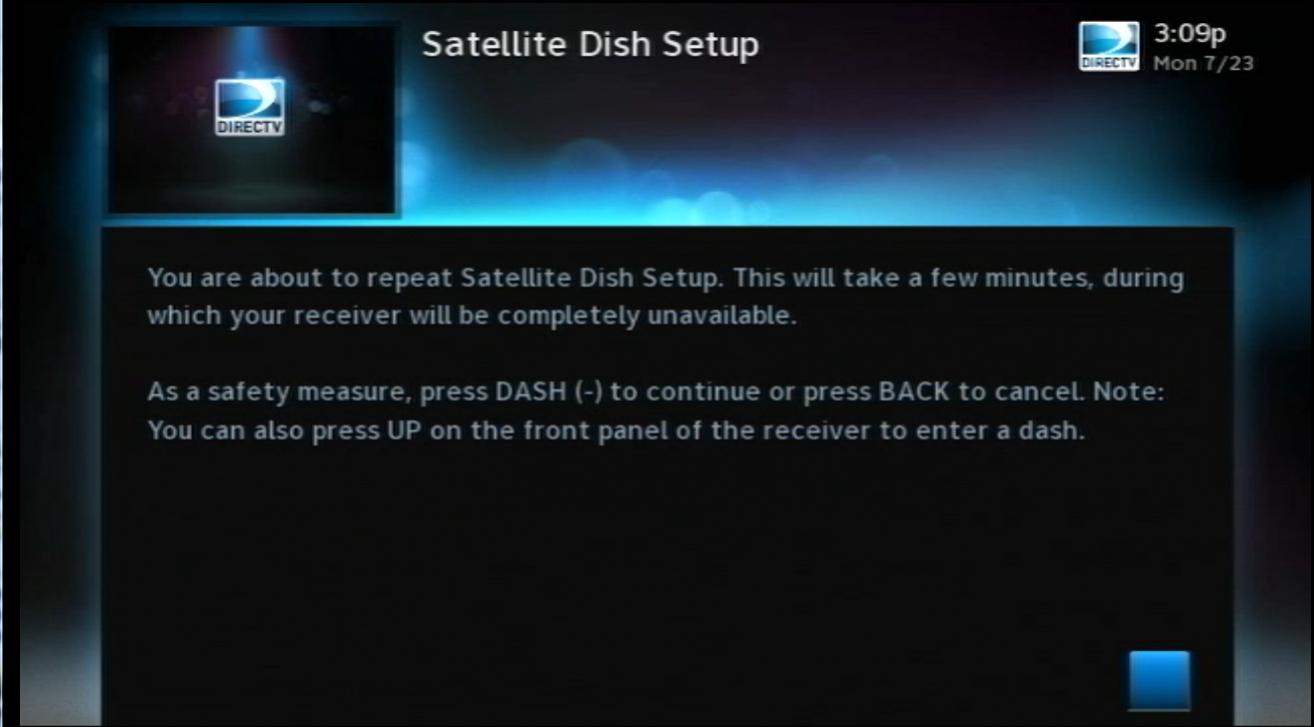
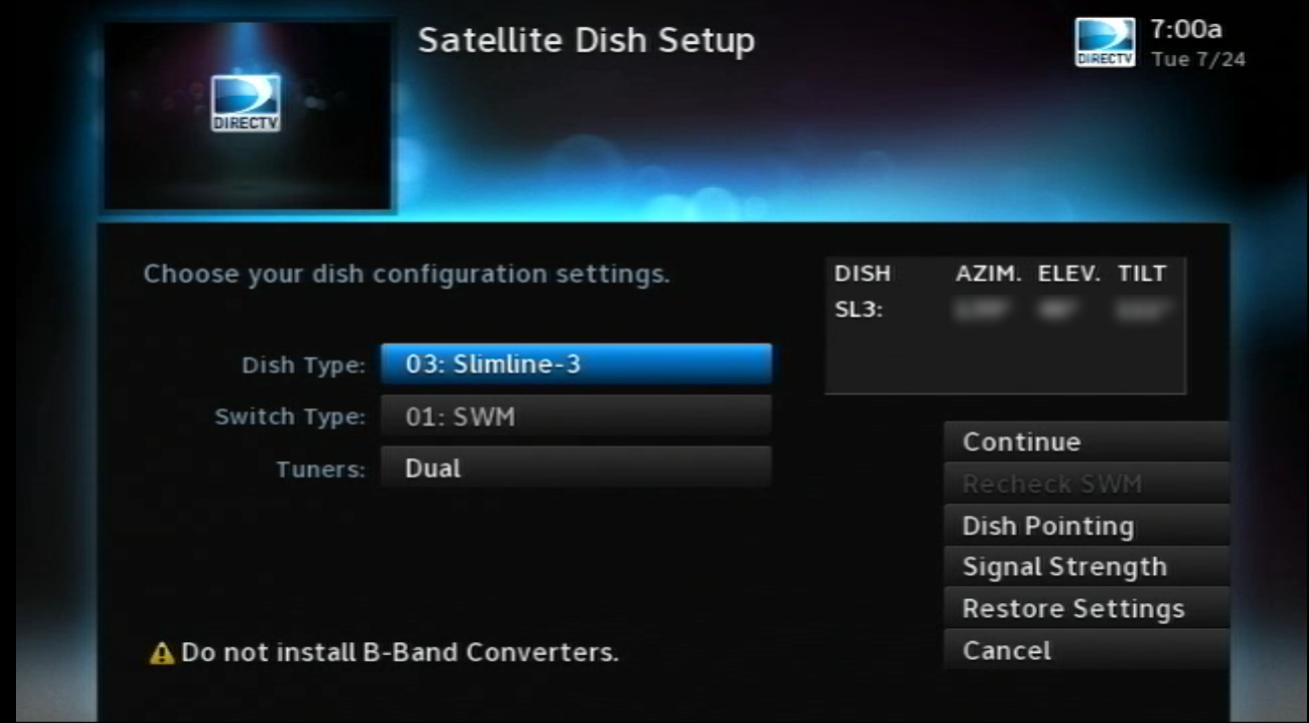
Because this process interrupts all programming, you will have to push the {DASH} button on the remote to continue. When you do, you will see the Satellite Setup menu. Here you can select the dish type you want and the multiswitch type. If you already have a SWM, that option should be set automatically. If the switch type is “02: Multiswitch” you can arrow over and down to “Recheck SWM” and press {SELECT} if you feel it should be set to SWM.
You will be shown basic settings for aiming your dish based on the ZIP code you entered when the receiver was set up for the first time. If you need to change that ZIP code, arrow over and down to “Dish Pointing”, press {SELECT} and enter a new ZIP code.
When the settings are right, arrow over to “Continue,” and press {SELECT}.

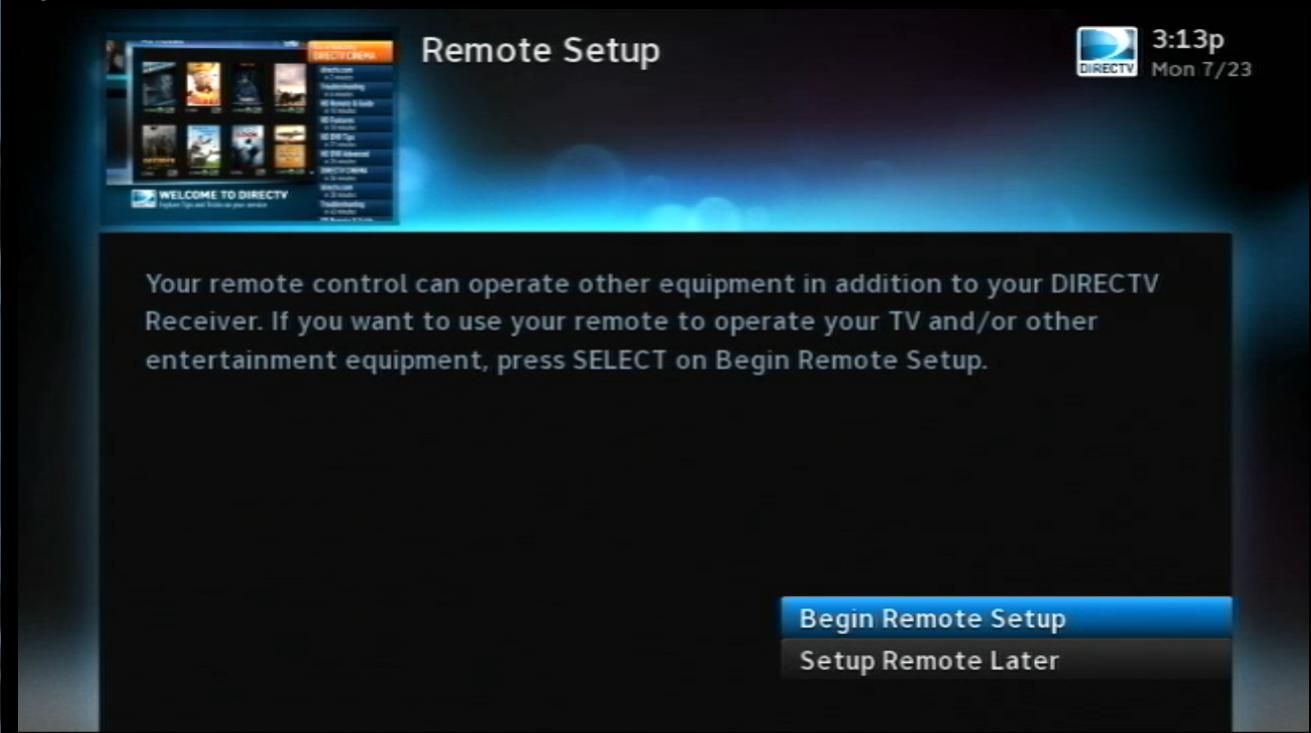
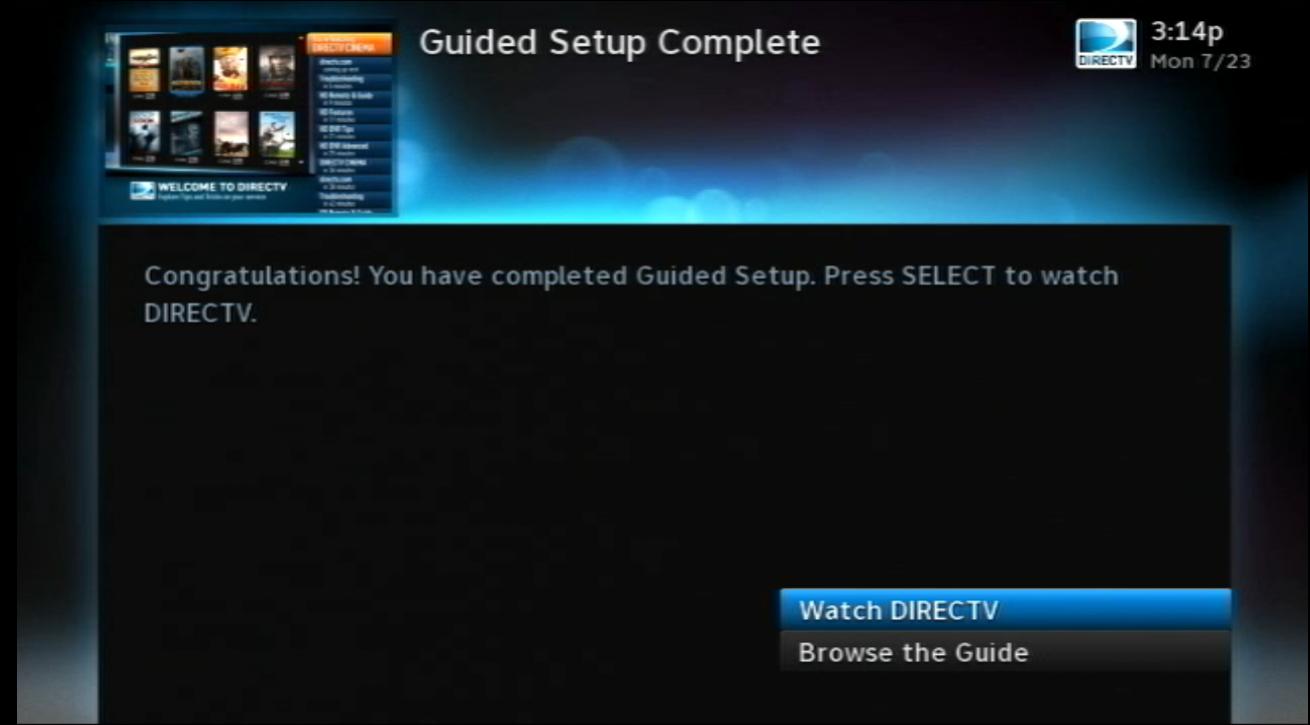
The receiver will then go through its automatic setup and retrieval of guide data. This can take several minutes. When it’s done, you will have the option to set up the remote if you wish. When setup is finally done, you can watch live TV or view the guide.
If you’d prefer a video on how to check your signal strength, check it out: