
All the way back in 2017, the FCC completed its grand plan to rethink TV frequencies. As a result of improvements in technology, it was no longer necessary to have so much empty space between channels. So, the FCC reasoned, we don’t need as much of the radio spectrum devoted to TV. Even the largest markets have 25 or so broadcast stations, so why have 50 channels?
In order to keep from creating mass chaos, they decided that stations would move in waves. (Find out a lot more detail here.) In many cases, all the stations in one market would move within a few weeks of each other, but in some cases it’s a drawn-out process that could take months.
For the better part of two years, I advised people to scan for channels every month. Once you know how to do it, it’s an easy process and generally takes under 5 minutes. I’ll admit that even I was caught unaware recently when a couple of subchannels I like to watch were changed. They just went black for me. I thought at first that there was something wrong with my TV, or that the broadcaster had given up on subchannels. But neither of those things were true. I just needed to scan for channels.
How to scan for channels
Unfortunately it’s different on every TV and every streaming device. However, I can give you some basics that will help you find the right options. Most of these steps will apply to TVs, satellite boxes and streaming boxes. Because it’s different on every device, it’s impossible to give you precise instructions.
Step 1: Make sure you’re controlling the right device
This seems like a no-brainer but it’s very easy to be using the wrong remote. If you normally use the DIRECTV remote to turn on your TV, you’ll want to use the TV’s own remote instead. If you are using a tuner box instead of your TV, you’ll need that device’s remote instead. If it’s an Android TV based unit like the Channel Master Stream+ or AirTV Player, you would use that remote. In the case of the (Black) AirTV streamer, it’s done in the app itself.
Step 2: Go into the menu system
On TVs and satellite systems you’ll press MENU to go into the setup screens.
On Android TV-based systems, press the home button, you’ll usually have to arrow down until the gear is highlighted, and select that. Or, you may need to launch your live TV app and look for a settings option there.
On Roku TVs, it’s in the menu where you define the inputs. Go to the “Live TV” input and you’ll see it.
Step 3: Look for the right setup option.
This is where every device is different. You’ll probably need to poke around a bit. Look for something that says “Antenna Setup” or “Off-Air Setup.” It could be under “Initial Setup” but be careful because you don’t want to completely reset the device to its original state.
Step 4: Rescan for channels
You’ll probably find a setting that says “Reconfigure” or “Rescan.” You may see a setting that says “OTA/Cable Setting.” You shouldn’t need to touch that.
When you do rescan for channels, it generally takes under 5 minutes to look through every channel and find what’s available in your area. You shouldn’t need to reset recordings. All your recordings should follow the rescanned channels.
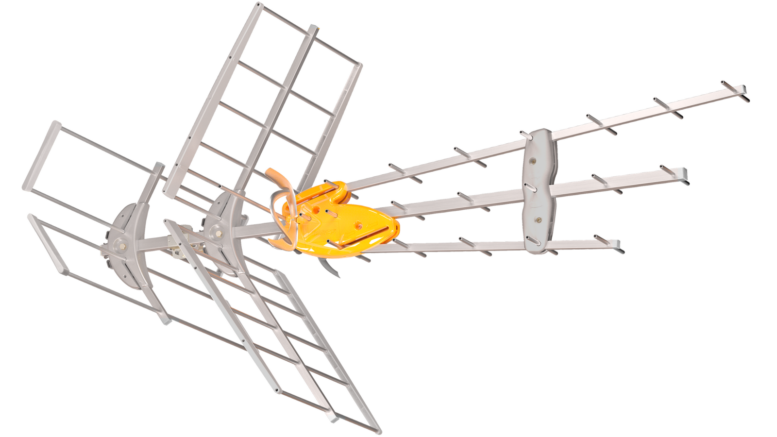
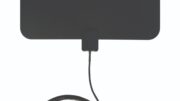
If you get your local TV through cable or satellite
If your local channels come to you without an antenna, you don’t need to worry about any of this. Someone, somewhere is doing it for you and you don’t need to worry about it at all. Even if you see a message on your screen saying you’ll need to rescan, you won’t have to do a thing.
How often should you rescan?
These days, I tend to tell people not to worry about rescanning every month anymore. I do recommend that you do it every 6 months or so just to see what’s out there.

Be the first to comment on "It’s time to scan for channels again if you have an antenna"