Remember when it was easy? A tiny dish on the roof pointing at one satellite. Those days are over and if you have a Genie DVR, aiming your dish can be even harder. Why? Because those simple satellite finders (you probably still have one in your toolbox) don’t work with the new SWM technology that’s used for Genies. Of course, the right way to deal with that is to use a proper satellite meter, but those can be a little expensive for casual use. Luckily there’s a simple alternative built into your DVR.
How to find the signal meters
You will want to do this while no one else is watching. It will disrupt the video on all your client boxes.
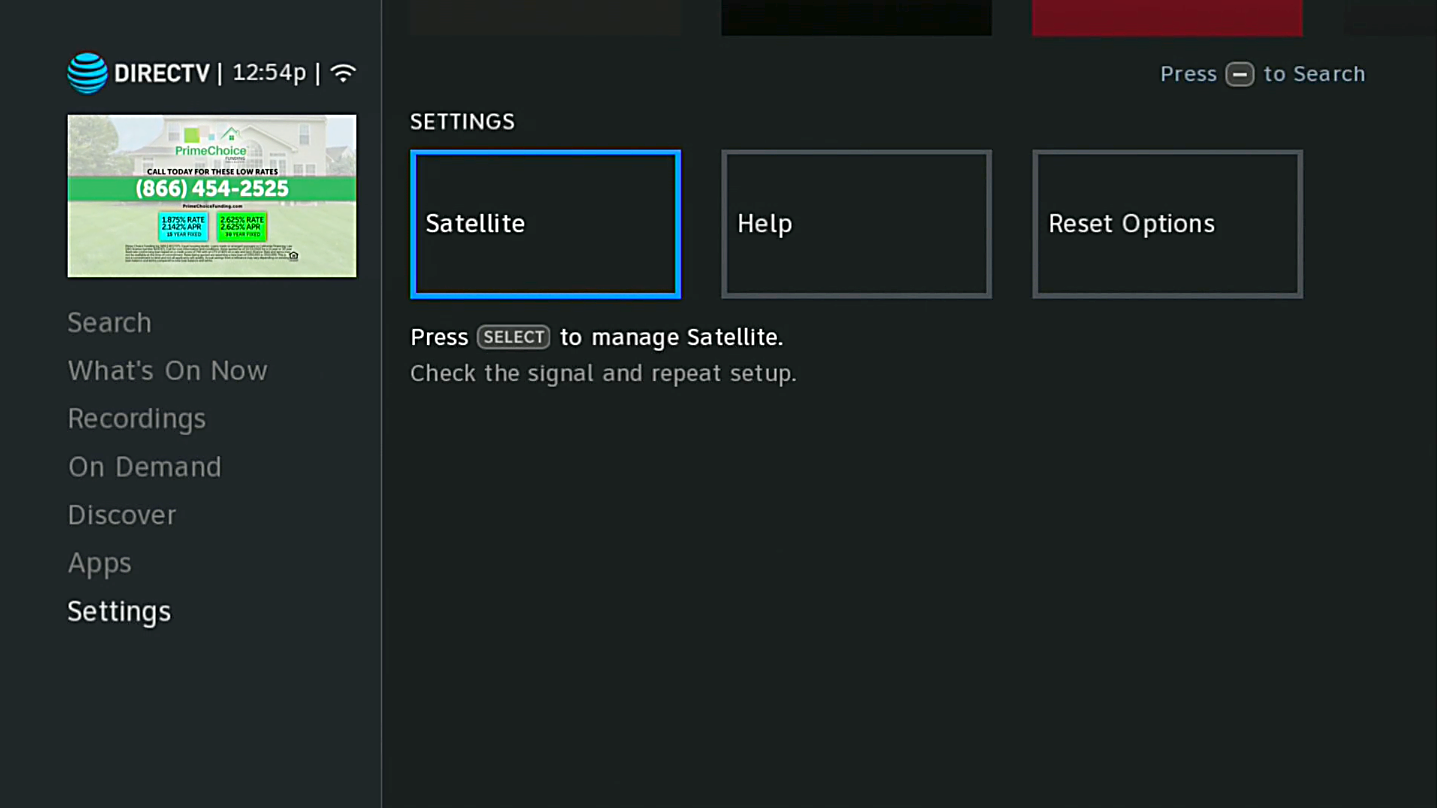
Step 1: Press MENU and arrow to Settings.

Step 2: Arrow right to Satellite and press SELECT.
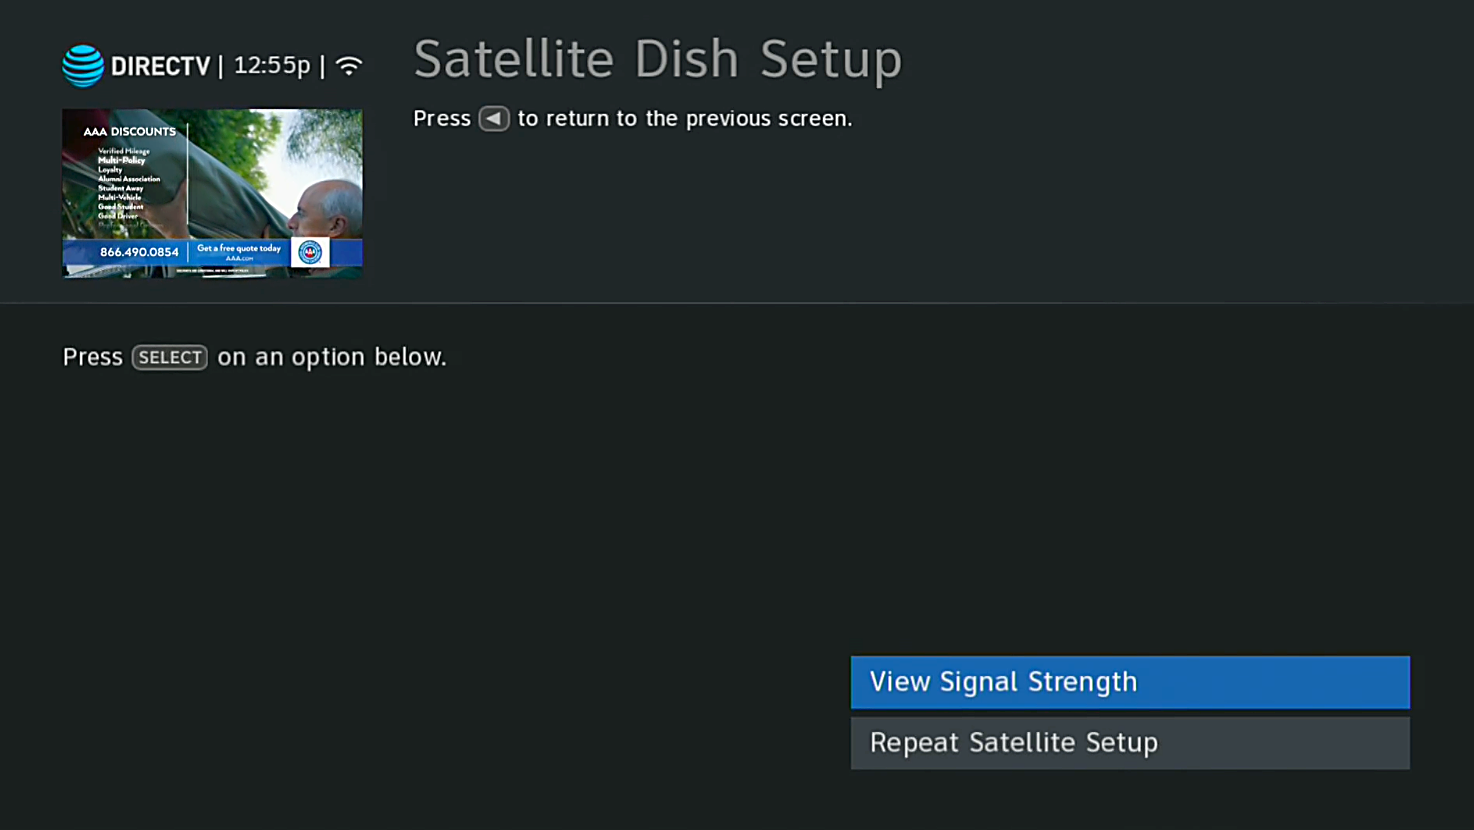
Step 3: Make sure View Signal Strength is highlighted, and press SELECT.
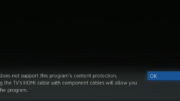
At this point, you’ll get a message telling you that you need to press the dash button on the remote. It’s the one to the left of the zero.
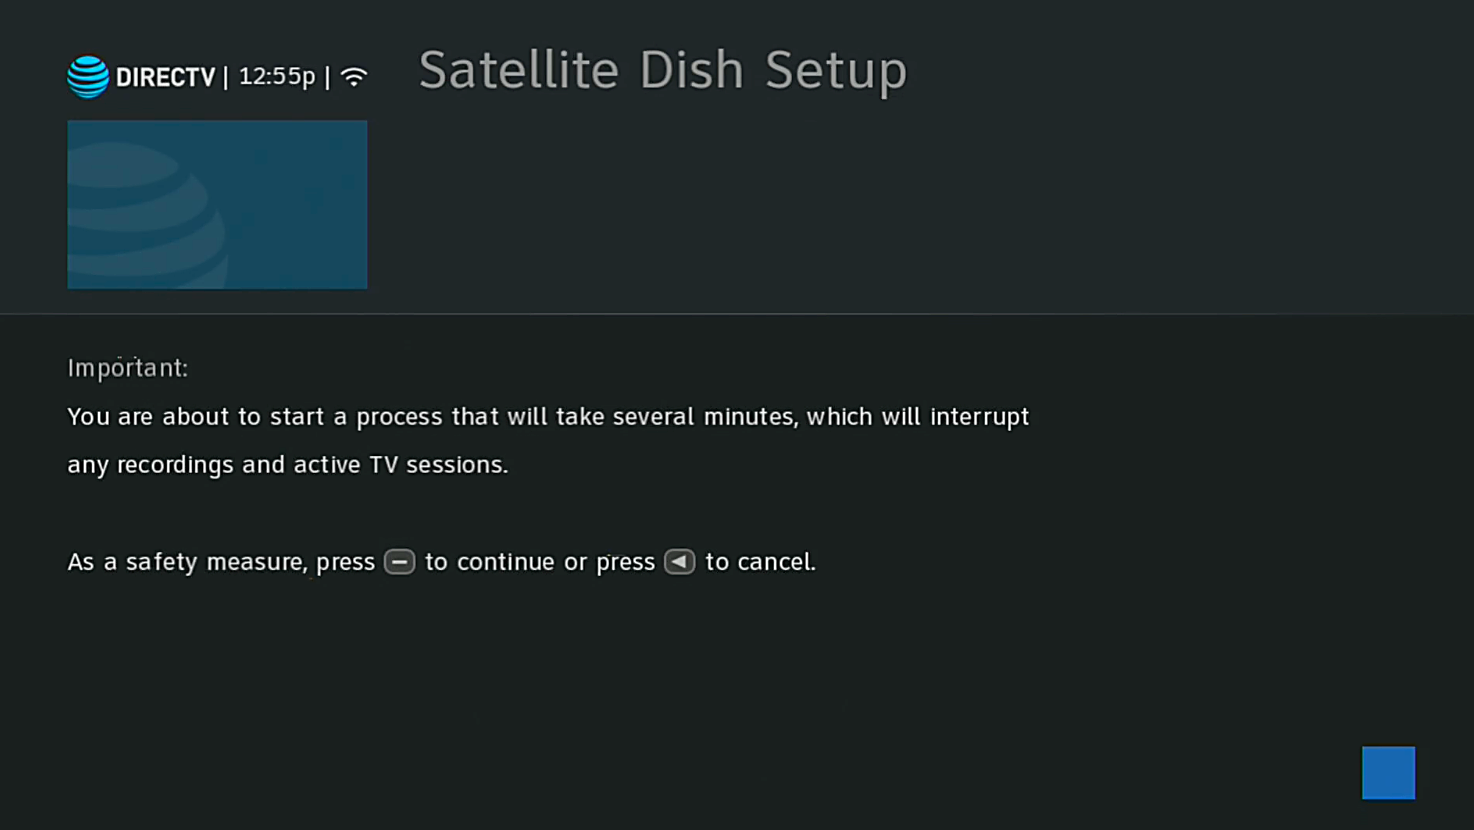
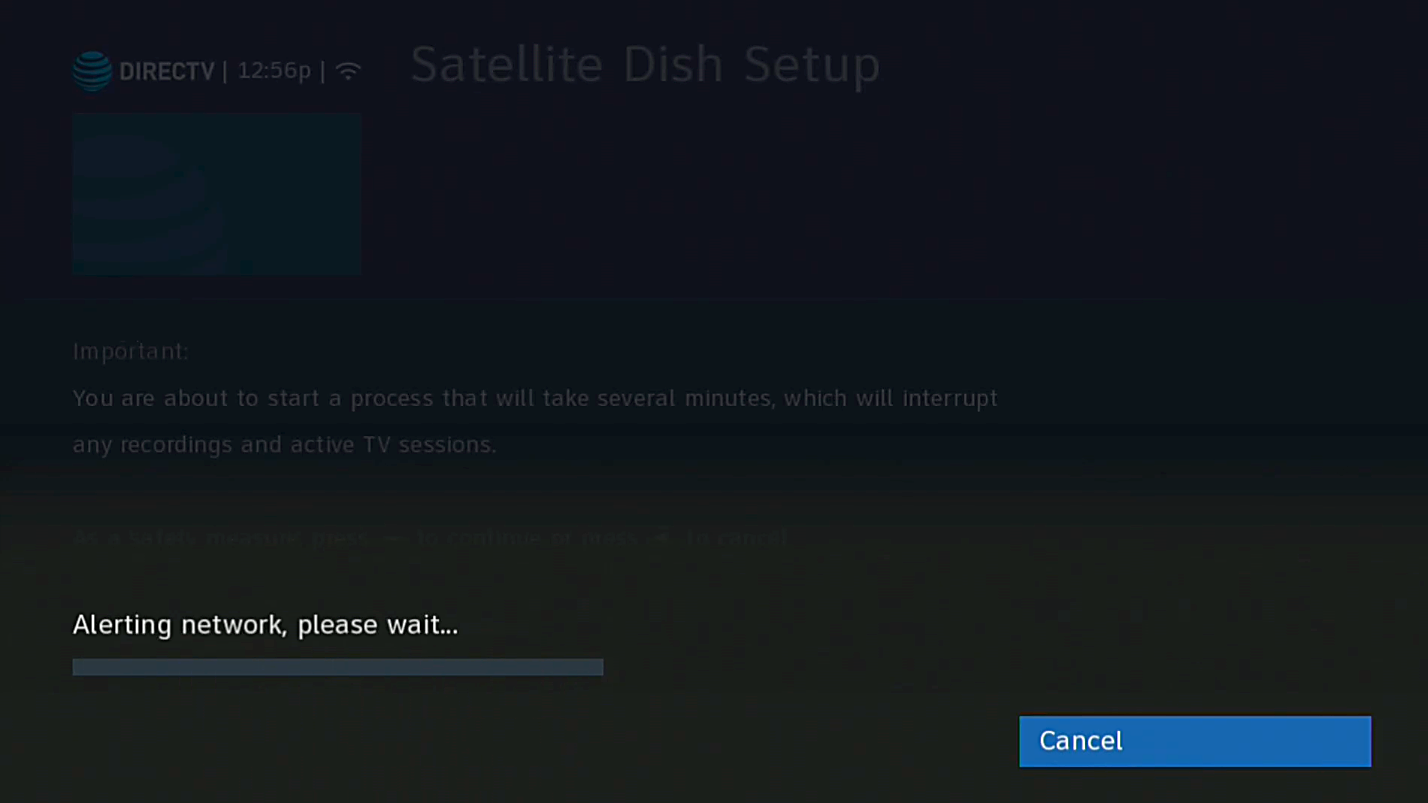
After you press the dash button, other client boxes will get a message that they will be disconnected. This takes about 30 seconds.
Step 4: Arrow down so Signal Meters is highlighted, and press SELECT.
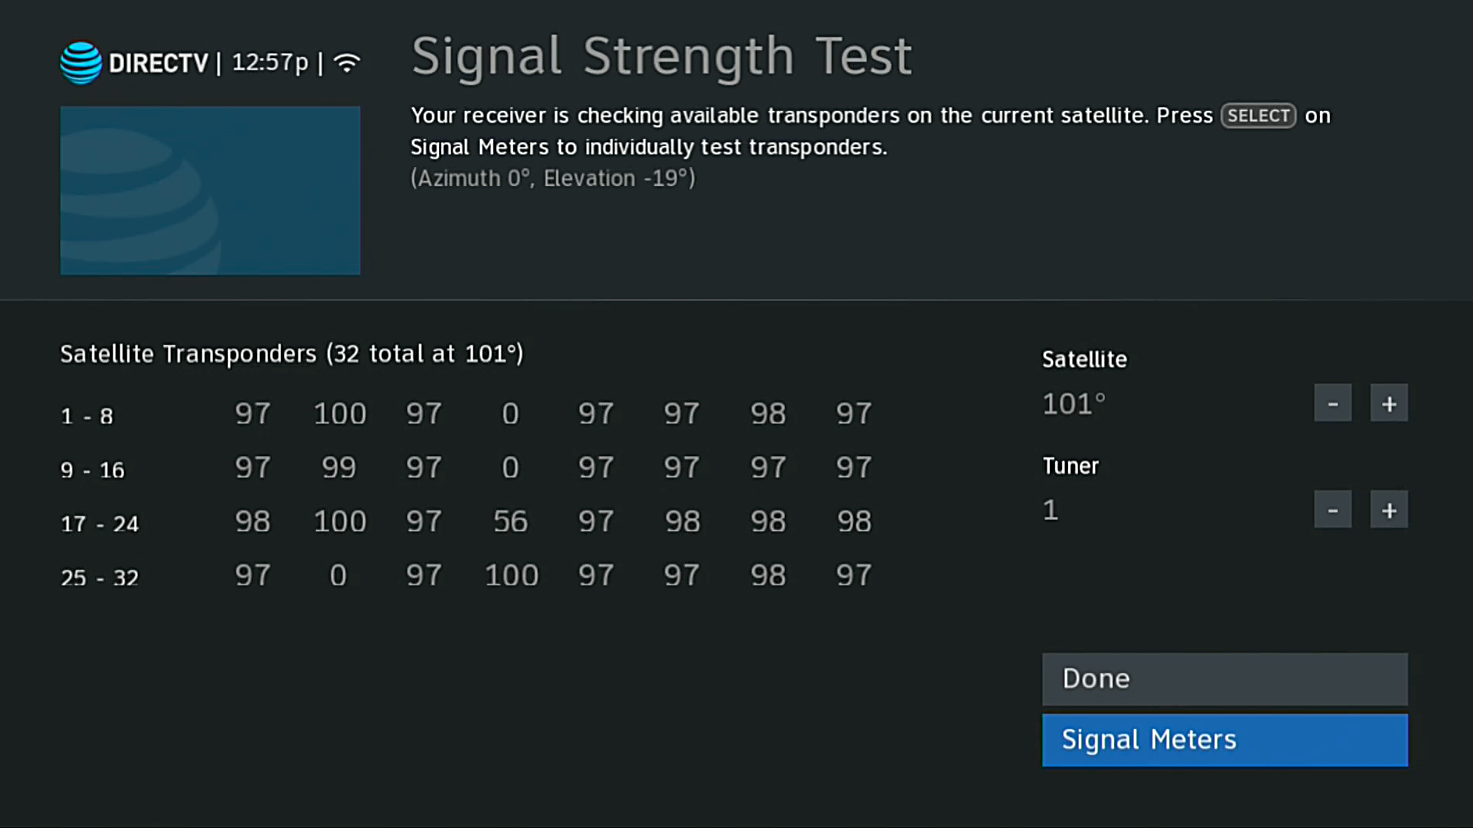
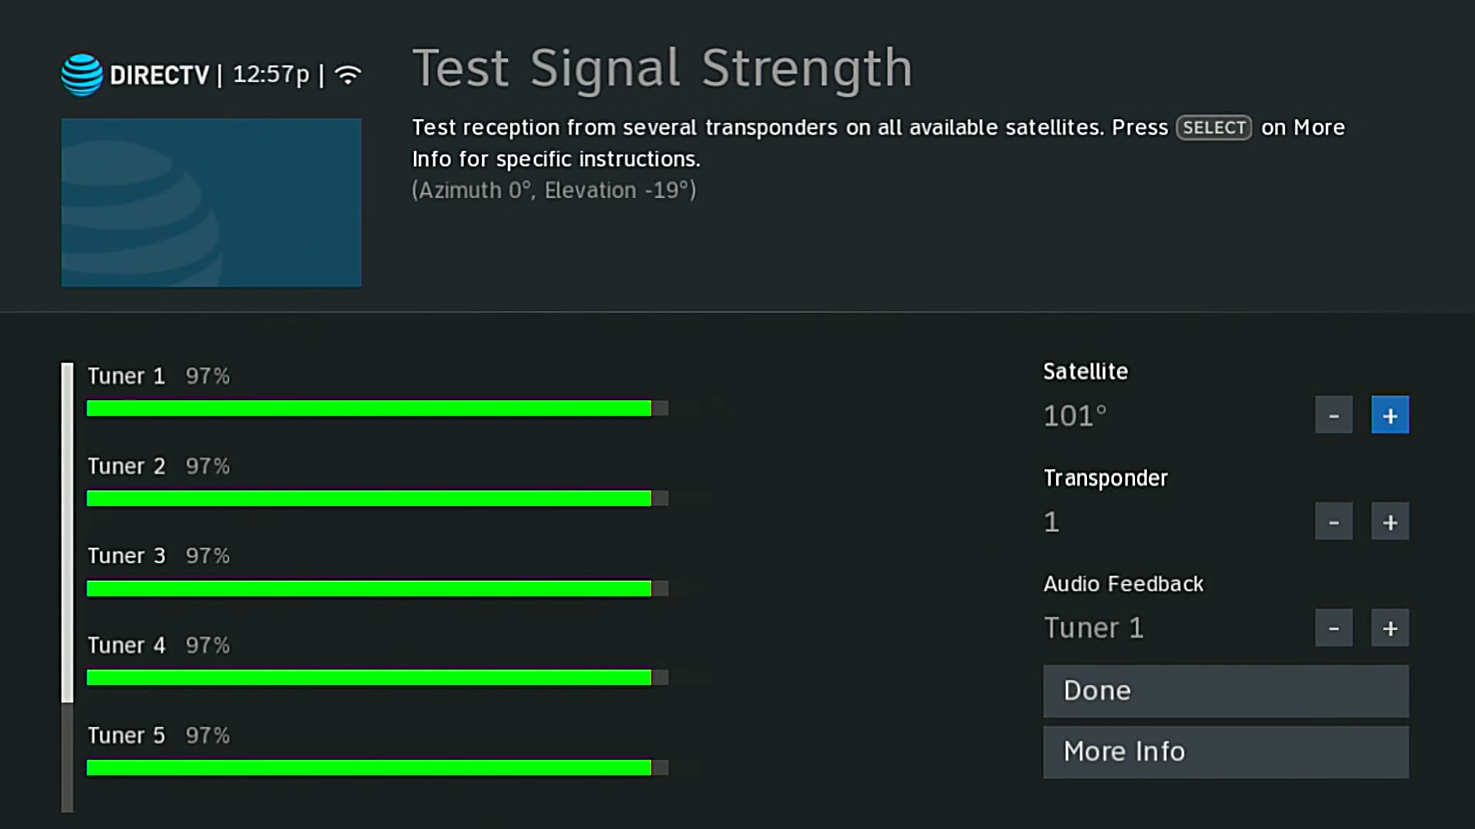
That may seem like a lot of steps but from there you’ll see a simple meter like the image above that shows you how each tuner is doing. You can choose which satellite and transponder to use — usually transponder #1 is all you need for basic aiming.
How the meters can help you
The numbers aren’t a direct measurement of anything scientific but instead represent a “signal quality” number that tells you on a scale of zero to 100 how well you’re likely to receive that signal. (For engineers, it’s a measure of the inverse of the bit error rate, adjusted to conform to a scale of 0 to 100 arithmetically.) In most cases anything over 85 is ok, anything over 90 is stellar, and anything around 75 will do for a sunny day but may suffer during heavy rains or snow.
Getting out of this menu and back to live TV
There are a few steps required to get out of this menu. You’ll need to highlight “Done,” press SELECT again, highlight “Done,” and press SELECT one more time. You’ll see this screen:
The receiver reloads guide data for good measure. If you’re connected to the internet, this generally takes less than 30 seconds.
This menu is good for diagnosing basic issues related to satellite aiming and it will also tell you if you have a bad LNB if, for example you have perfect numbers for all the satellites but no signal at all for one satellite.
When you’re ready to upgrade your DIRECTV system or even if you just need accessories like extra remotes or cables, shop the great selection at Solid Signal!