
Easy answer: It’s not a problem anymore.
For well over a decade, AT&T’s WorldDIRECT international dish was used by itself to get a mix of standard definition and international programming. If you want HD, you’ go a Slimline dish WITHOUT a built-in SWM. That dish will get the HD programming for you, but in order to combine both onto a single line, you needed an external SWM like the SWM8. You can’t use a dish with a built-in SWM because there’s no way to combine the two signals.
After that you had to go through a fancy setup process to make everything work. And, if you were moving a receiver from your home to an RV, you had to go through that setup process again. Luckily everything has changed.
The way we do it now
AT&T is in the process of moving toward retirement for the satellite at its 95 degree location. That satellite, Galaxy 3C, has been in service since 2002 and it is coming to end-of-life.
However, that doesn’t mean that the international programming on it is going away. Far from it. AT&T has already started broadcasting the same programming on satellites in its main satellite locations. All you need is the most modern dish to get it. You no longer need two dishes to get HD and international programming.
The Reverse Band 3 dish
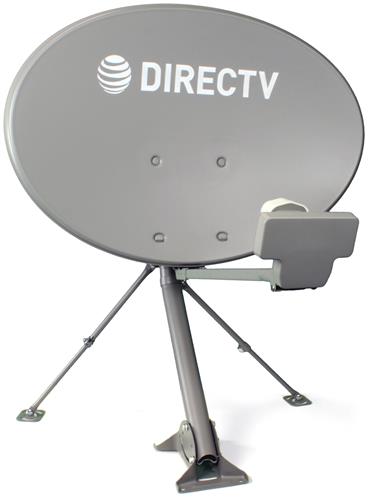
This is the Reverse Band Slimline 3 dish with built-in digital SWM technology. It will get all the signals AT&T broadcasts from the 99, 101, and 103 locations including 4K and international programming. It’s an easy replacement for any Slimline dish. In fact if you have an existing SWM-enabled Slimline dish all you have to do is change out the LNB. You can get the replacement version by itself here.
Setup is easier too
Today, most people have Genie systems. If you upgrade to the Reverse Band dish and you are using Genies, the system will automatically detect the dish and use it. You won’t have to make any changes.
If you have an older receiver, you’ll need to set the satellite type manually. After doing the dish install, go to each receiver or DVR that will use it and follow these steps:
- Press MENU.
- Go to “Settings & Help.”
- Go to “Settings”
- Go to “Satellite”
- Go to “Repeat Satellite Setup.”
These are the settings you’ll need to use for this dish:
- Dish type: SL3 LNB
- RB/INTL: Reverse Band
- Switch Type: SWM LNB 22 CH
Then make sure “Continue” is highlighted and press SELECT. The system will confirm the new settings and reload guide data. After that, you’ll be all set to watch TV in HD, 4K (if you have 4K hardware), and even watch international channels you’re subscribed to.
Get the help you need
You’ll find thousands of helpful tutorials and downloadable content here at The Solid Signal Blog. Plus, if you need help, join our Facebook Group and ask any question you’d like (on topic, of course.) If one of our techs doesn’t answer, generally a member of our community will!

Be the first to comment on "UPDATED: Can you use the WorldDIRECT dish with a SWM-enabled dish?"