

You’ve got it home, you’ve read the review… but you’re still not sure how to make it work. The C41W Wireless Genie Mini Client isn’t the easiest thing in the world to configure but once you’ve done it once, you shouldn’t need to do it again. Sometimes, though, things go kind of sideways. Solid Signal is here to help you with advanced setup and troubleshooting techniques for your wireless client!
This document is available in PDF format for online viewing or printing! Download it now!
Basic Setup
Basic Installation Steps
Start by planning your installation. The maximum distance between the wireless video bridge and the wireless client is 80 feet through 5 walls, but in some cases you will get less range than that. Plan ahead and think about possible interference from ducts in the wall, appliances, and flex conduit. If you’re not sure if your client will work, it’s best to use the “Advanced Setup” detailed a little later.
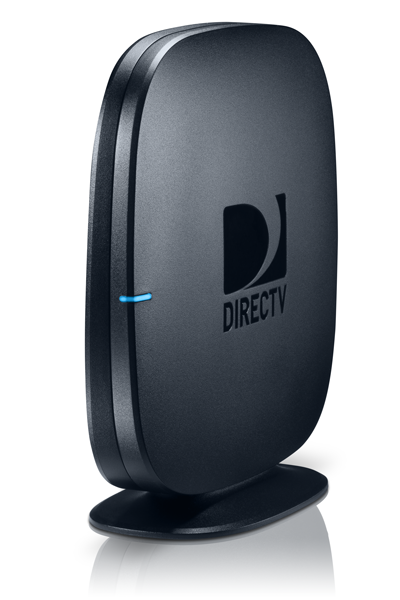
Wireless Video Bridge Installation
With your Genie DVR turned on, connect the wireless video bridge to coax and plug it in. Now walk away for about 5 minutes and do nothing. There’s a lot of waiting in this process and most of the time if you just wait it out.
Within 5 minutes a message should pop up on the Genie DVR’s TV telling you a wireless video bridge has been found and configured to work with your Genie. The light on the front of the wireless video bridge should be solid blue.
Client Installation
Again this takes a lot of waiting. Once your video bridge is set up, connect the C41W to its TV, plug it in and make sure the TV is on (and on the right input.)
Note: It’s much easier to have two TVs here, because you will still need access to your Genie DVR.
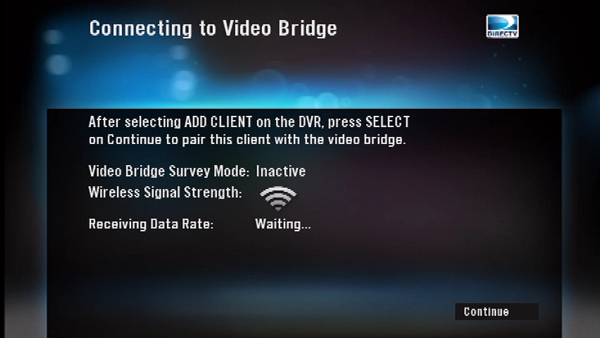
After about a minute you’ll see the “Connecting to Video Bridge” screen. Wait up to 3 minutes until the Wi-Fi graphic changes from gray to green and the “Continue” button turns blue. If the graphic is not green, you will need to reposition the video bridge or the client.
Now, go to the Genie DVR and press {MENU}, Settings&Help, Settings, Whole Home, Add a Client. Write down the 4-digit number you’re given, you’ll need it.
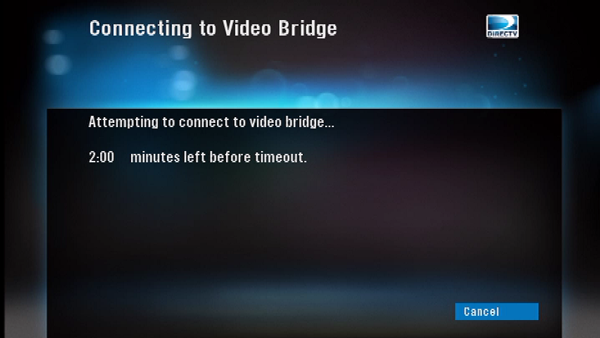
Go back to the C41W and press {SELECT} making sure that the “Continue” button is blue. Then, wait about another two minutes for communication to start.
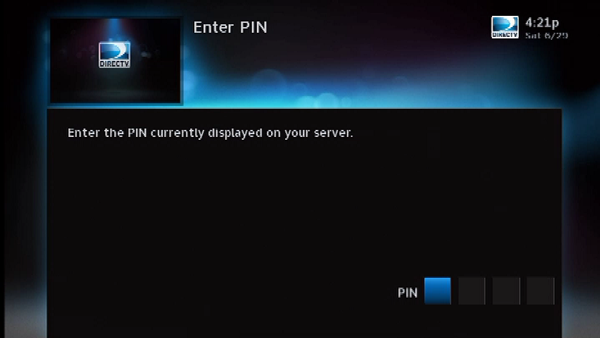
You’ll see a screen asking for a PIN. Enter the 4-digit number you’ve been given. At this point you’ll be taken in the familiar setup screens, and you’re just moments from watching TV!
It’s very normal to see a white flash on the screen and for the client to want to update itself almost immediately.
Trying again: resetting everything
Removing the Video Bridge from the Genie DVR
Disconnect the Wireless Video Bridge from the coax cable, then go to the Genie DVR. Press {MENU}, Settings&Help, Settings, Whole Home, Video Bridge, then select “Remove Video Bridge” and you will see a message that the wireless video bridge has been removed from your Genie.
Resetting the Wireless Video Bridge
With the Video Bridge still disconnected from coax, press and hold the red reset button on the back until you see the light on the front blink red, then yellow, then green. Then let go of the reset button. Connect the coax again.
Resetting the C41W Wireless Genie Mini
With the C41W powered up, press and hold the red reset button on the side for AT LEAST 20 seconds. Release it and if you don’t want to do the pairing process right away, unplug it immediately.
Advanced Setup using Beacon Mode
First, unplug your Genie DVR or disconnect its coax cable to be sure that you won’t accidentally pair to it. Then, power up the video bridge. Within two minutes the light should flash yellow and green. If it goes solid green or solid blue, it will need to be reset before you can use Beacon Mode.
![]()
With the video bridge in Beacon Mode, power up the C41W client. You should see a green light on the front and the Wi-Fi icon on the TV screen should be green. If it isn’t, move the video bridge or the client until the light turns green.
Important: DO NOT PRESS “CONTINUE” or “CONNECT NOW” or the client will need to be reset before you add it to your Genie DVR.
Once you have all your clients properly situated, connect the Genie DVR and power it up. Unplug the C41W client temporarily, then go through the “Basic Setup” process including connecting the video bridge, waiting for the blue light, and connecting the client.
Indicator lights and what they mean
Wireless Video Bridge
| Light State | What it means | |
 |
Off | No power to the video bridge. Check the plugs. |
 |
Blink Blue | Normal bootup sequence. Wait 2 minutes. |
 |
Solid Blue | Normal operation, your video bridge is working properly. |
 |
Solid Yellow | Network problems somewhere in your DIRECTV system. If you’re having poor whole-home performance, look for the source. This shouldn’t affect your wireless clients. |
 |
Blink Yellow | Video Bridge can’t find the coax network. Check that the coax cable is connected. |
 |
Solid Red | Poor connection to at least one C41W client. Look for the client with a solid red light. Relocate either the video bridge or the client. |
 |
Blink Red | General error. Press the reset button. If this doesn’t fix it, your video bridge is defective. |
 |
Blink Green and Yellow | Beacon Mode, used to help find good locations for video bridge and clients. |
 |
Blinking Green | Normal operation when going from Beacon Mode to regular mode. Wait 5 minutes. |
 |
Solid Green | Video Bridge is connected only to Genie and nothing else. This is normal to see if you have no other receivers and you haven’t added the client. |
 |
Blink Green and Blue | Video Bridge is in add client mode. After you add the client the light should turn solid blue. |
Client:
| Color | Description | |
 |
All Off | No power to the client. Connect the power adapter. |
 |
(Logo Light) Flashing Blue | Software is being updated automatically. Wait up to 10 minutes. |
 |
Logo Light on, Network Light off | Client is booting up. Wait up to 2 minutes. |
 |
Green | Everything is normal. |
 |
Yellow | Poor wireless connection. Relocate the client or video bridge. |
 |
Red | VERY poor wireless connection. You must relocate the client or video bridge or you will get no signal. |
 |
Blinking Red | No connection to the video bridge. Re-add the client or check the video bridge for more information. |


Be the first to comment on "Solid Signal’s WHITE PAPER: Advanced DIRECTV C41 Wireless Troubleshooting"