
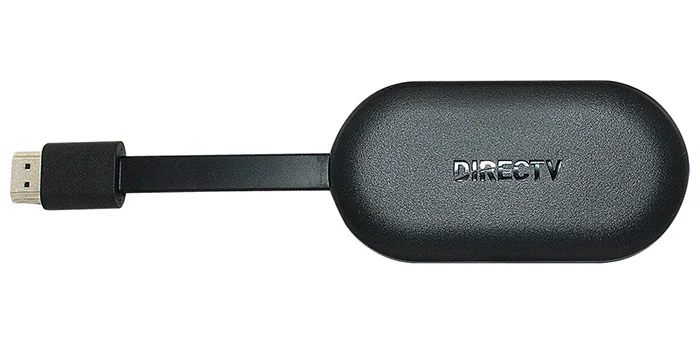
DIRECTV’s Gemini Air is a major hit. No bigger than a streaming stick, it brings real DIRECTV content as well as pretty much every streaming app into one package that comes with a real, comfortable remote that has the buttons people expect. If you’re coming from cable, it’s the perfect choice for you.
Most people who get a Gemini Air use it with no problem. But, there are a few people out there with 4K televisions who report that they get a black screen with no way to recover from it without rebooting. There’s a simple way to get past this problem permanently by making a change to the way Gemini Air displays video.
The real issue is HDMI, not Gemini
People love the HDMI cable. It’s easy to connect and disconnect, and with one cable you have the potential for the highest quality video and audio. But, that’s not the real reason for HDMI. HDMI’s real reason for existing is to keep you from pirating content. I go into a lot more detail here. The content protection baked into HDMI is really the problem. Unless everything is perfect, there can be problems like black screens. Believe it or not these problems are designed into the system on purpose, to discourage piracy.
The easy answer to eliminating most black screens and video issues is to switch the Gemini Air so it outputs HD at 1920×1080 interlaced, instead of full 4K. This might sound like you’re missing out, but remember these facts:
- Almost all live DIRECTV content is HD anyway.
- If you’re using a TV smaller than 60″, you probably see no difference between HD and 4K.
- Streaming apps, even when they say they’re doing 4K, often put out HD or just poor quality 4K.
Here’s a quick guide to show you how to change your Gemini Air to 4K.
Before you start
If you’re having black screen issues, you first need to find a way to show live video. Generally, you can get live video back by pressing the reset button.
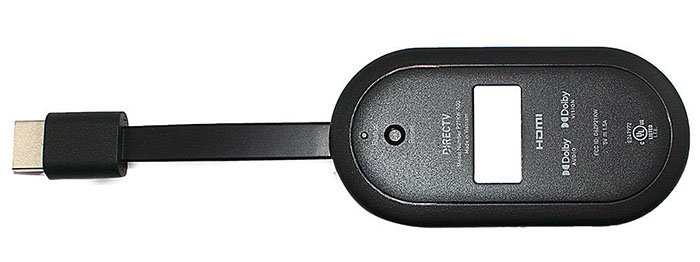
There’s a small button on the back of the Gemini Air. Press it and release it quickly while the TV is on. Make sure you press the ON button on the remote once you see the light on the Gemini Air turn white.
If you can’t get live video back, try moving the Gemini Air to another TV temporarily. In a worst-case scenario you can set the Gemini Air back to its factory state by pressing and holding that reset button for 30 seconds. You’ll have to sign back in, but the whole process should take less than 10 minutes.
Once you have live video, here are the steps to change your output to 1080i.
Simple steps
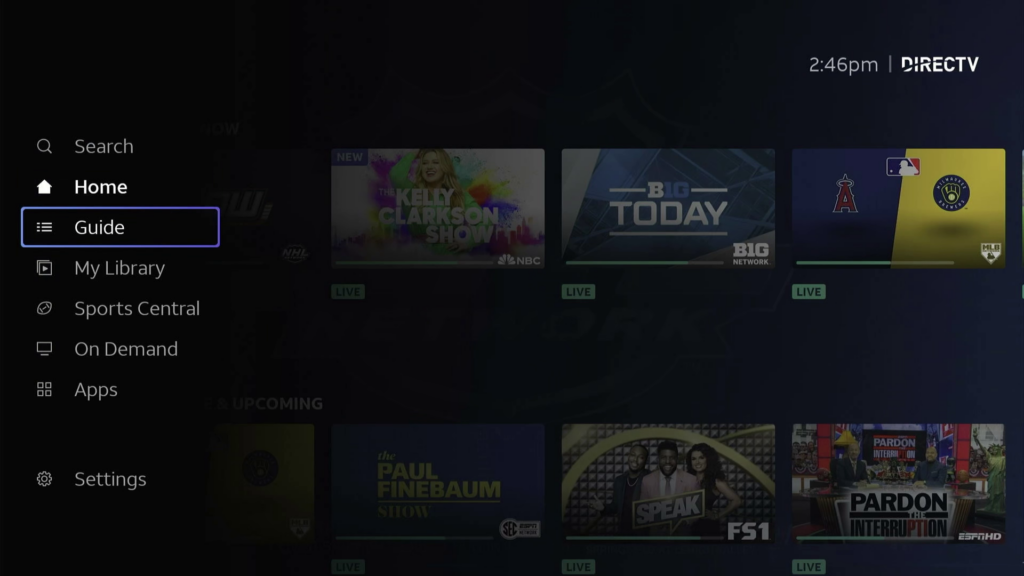
Press the home button and press the left arrow to expand out the side menu.

Arrow to Settings and press OK.
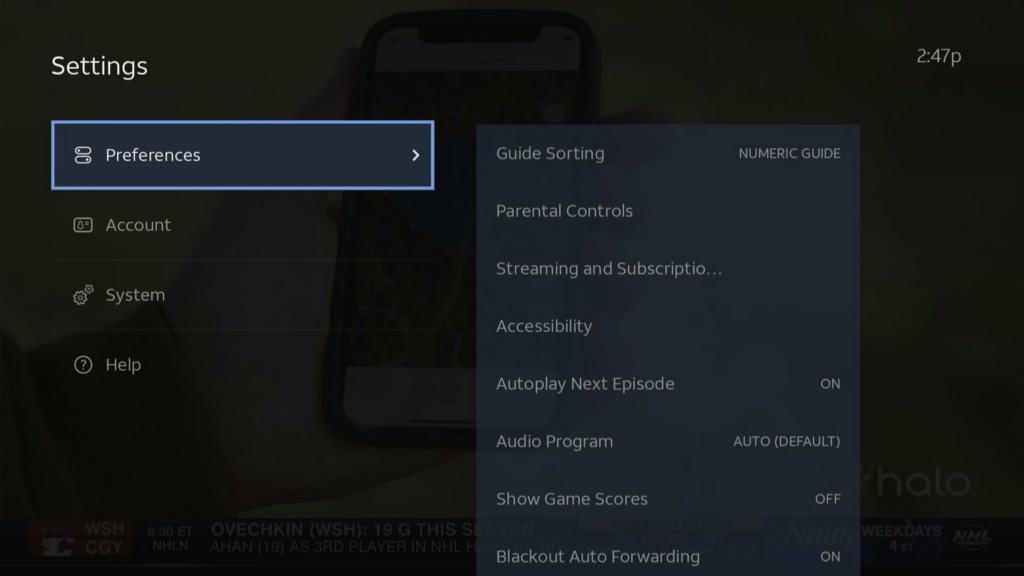
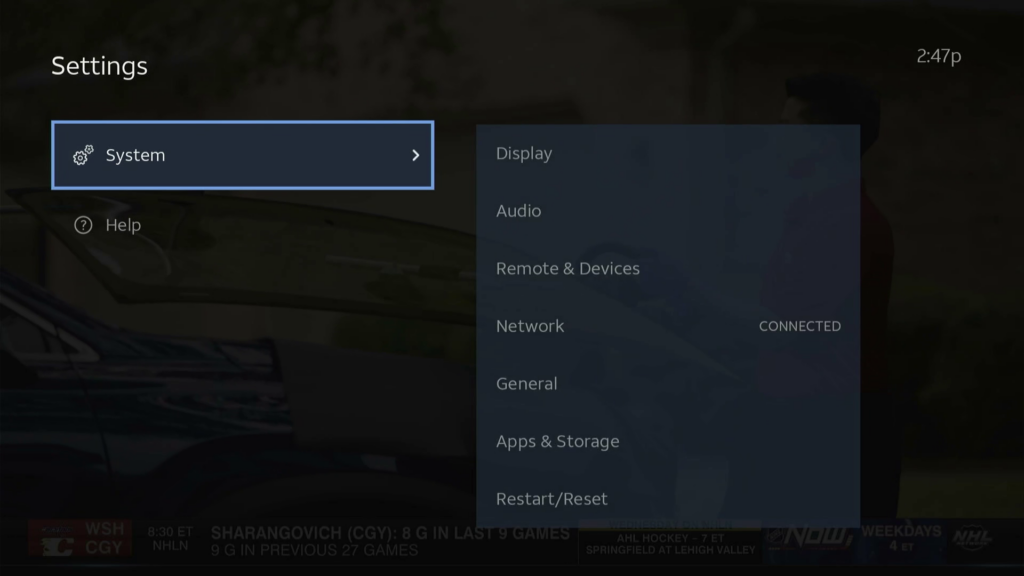
Arrow down to System.
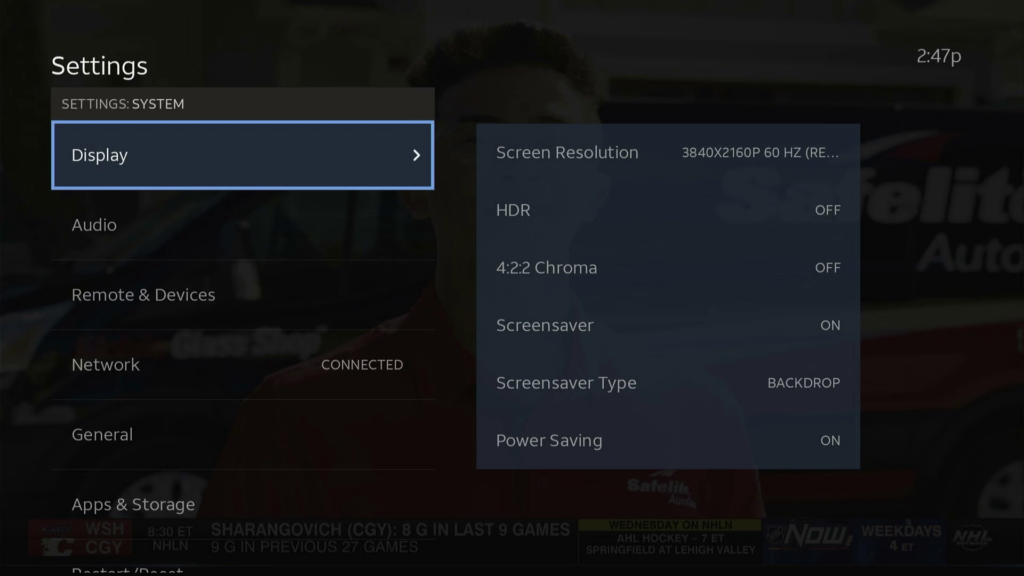
Press the right arrow so that Display is highlighted.


Arrow over until Screen Resolution is highlighted, then hit the right arrow again to choose the resolution.
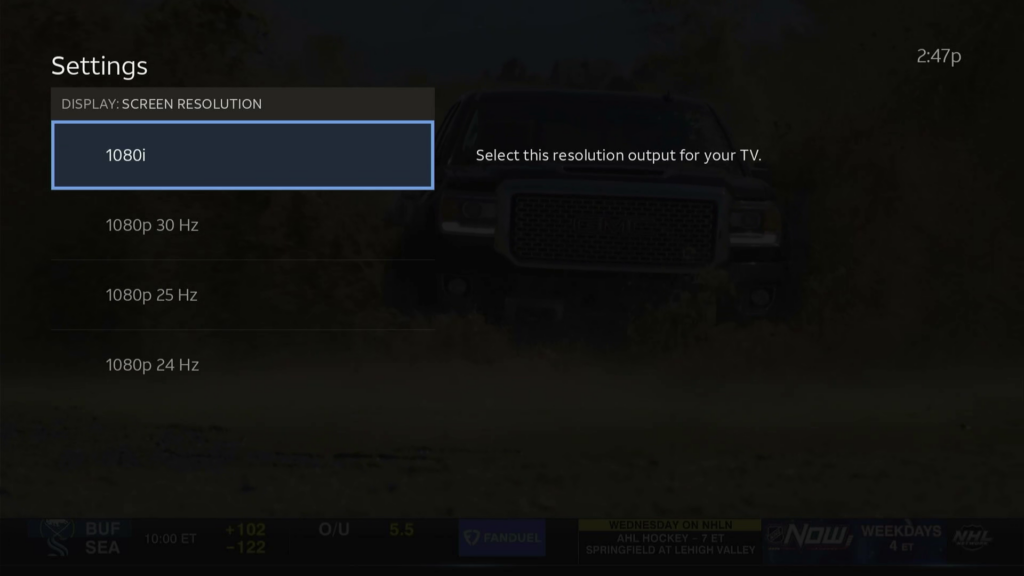
Arrow down until 1080i is highlighted and press OK.
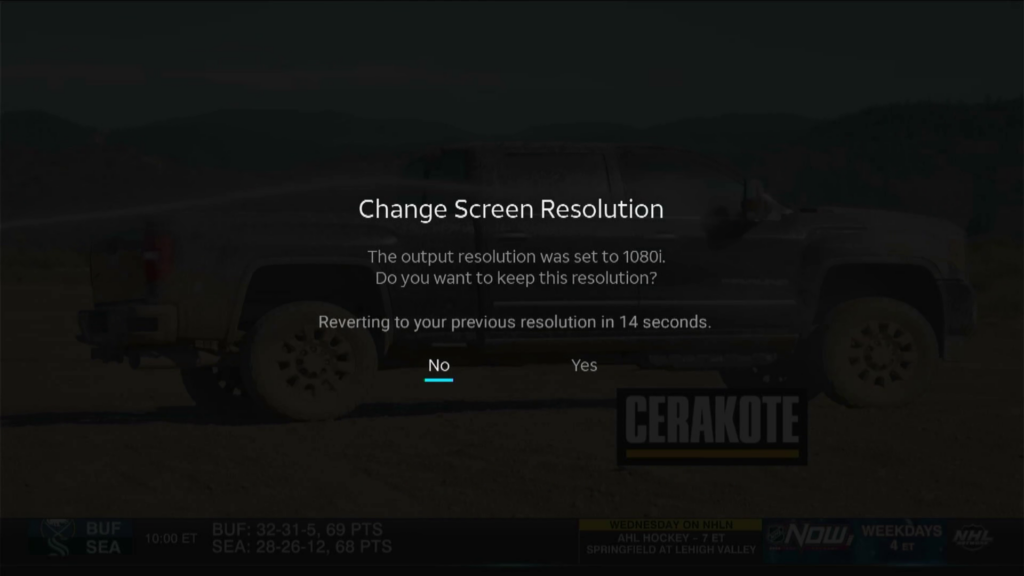
The screen will turn black for a second and you’ll see this screen. Right arrow so that Yes is highlighted and press OK. Then press EXIT as many times as it takes to get back to live TV.
That’s all it takes
Yes, it’s true that you’ll get HD instead of 4K. But more importantly you won’t get issues with black screens. If you do want to try to change back to 4K, you can do it at any time. The truth is, you might find that there isn’t as much difference as you thought there was.
Prefer a video?
Here’s a video showing step by step of the same thing.
Get what you need from Solid Signal
Solid Signal is your home for everything you need to live your best digital life. Shop now or call us at [email protected] to get all the free advice you deserve! We’re here for you during East Coast business hours. If it’s after hours, fill out the form below.

Be the first to comment on "Black screen on your Gemini Air? Here’s what to do"