
Satellite dishes are incredibly reliable. When you think about how inexpensive they really are, it’s pretty amazing how long they last. I’ve known people to get 15 years out of a satellite LNB at this point. Consider how many cars you’ve had in 15 years, or how many TVs. And yet this sensitive antenna system that sits outside all day and all year is still soldiering on. Pretty cool, right?
But eventually there’s going to come “a time.” You might have put the dish up by yourself, and you’d like to replace the LNB by yourself. Yet, you’re worried that you’ll have to spend hours re-aiming. Should you be worried?
Most likely, no.
If you are replacing the LNB on an oval dish like DIRECTV’s Slimline or DISH’s Western Arc/Eastern Arc dishes, you shouldn’t have to re-aim it. Older round or squarish dishes should probably be replaced completely instead of just replacing the LNB. Their day has come and gone, to be very honest.
Why would you want to replace the LNB?
In the past you probably did it for an easy upgrade to DIRECTV SWM technology or to get additional channels from your DISH system. These days, you’re probably putting up the Reverse Band 3 LNB for DIRECTV or a hybrid LNB from DISH. These newer devices are practically mandatory for the latest DVRs from both companies, and they’re really the “way forward” from now on. The older style LNBs just won’t work with newer hardware, or they’ll require you to buy additional parts for compatibility.
What’s the best way to avoid having to re-aim the dish?
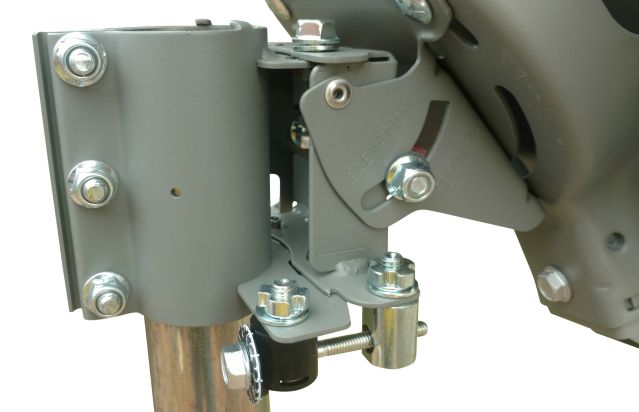
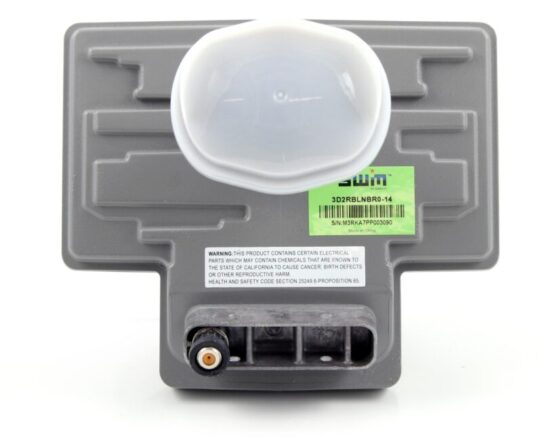
Before you start, look at the back of the dish. Both DIRECTV and DISH use similar hardware on the back to aim the dish carefully. What you see above is DIRECTV’s version, which they call the “Back Assembly Unit.” Mark the position of the tilt, elevation and azimuth markers on the dish with a pencil or permanent felt marker. Do it in a way that you will know if something moves. Just be gentle, as you don’t want to knock the dish out of alignment just by marking it.
This way if you accidentally knock the dish out of alignment, you’ll know. And of course, be very careful in how you remove the old LNB and attach the new one. When changing the LNB, disconnect the cables first. If you need to use some sort of lubricant to get the cables to disconnect, be careful. It won’t hurt the dish if that stuff gets on it, but you also don’t want a slippery mess.
Once you have the cable disconnected it should be easy to remove the screws or bolts holding the LNB to the arm, and slide it toward the reflector. Then push the new LNB in place, screw or bolt it down, and reconnect the cables.
Need more help?
Looking for a more detailed tutorial on upgrading your dish? Click here for “The Ultimate Guide to Upgrading Your DIRECTV System” which details all the options you have moving forward. If you need even more advice, call the experts! Call Solid Signal at [email protected] and you’ll reach a technician who is trained to help. We’re here for you during East Coast business hours. If it’s after hours, fill out the form below. We’ll get back to you, usually within one business day.


Be the first to comment on "QUICK QUESTION: Do you have to reaim a dish after you replace the LNB?"