

The Xtreme Signal HDB4X antenna from Solid Signal is a great combination of durability and performance. It’s the right antenna for you if you:
- Need an outdoor antenna for good reception
- Live within 45 miles of the broadcast towers
- Watch primarily UHF channels
- Live where there is no homeowner association or any rule against a larger antenna
If that sounds like you, there’s no doubt you’ll enjoy great FREE HDTV by using this durable, economical antenna.
How do I know if I need only UHF channels?
A site like TVFool.com will help you figure out the actual broadcast channels you need. Remember, since the digital transition, broadcasters use the PSIP system to translate between actual channel numbers and the channel numbers you see. Anything over channel 12 is considered UHF.
Before you start:
Make sure that you review local ordinances for grounding and buy the grounding supplies you need. Also, make sure your ladder is safe and don’t go up on a roof or into an attic if there is any chance of electricity. Be safe!
Also, remember that all assembly should be done by hand. It should not be necessary to use tools to tighten anything more than hand tight (except in one case where a 10mm wrench is needed) and if you overtighten the nuts you may risk damage to the antenna.
This document is available in PDF format! Click here to download!
What’s in the box
Here’s what you should expect to see in the box:
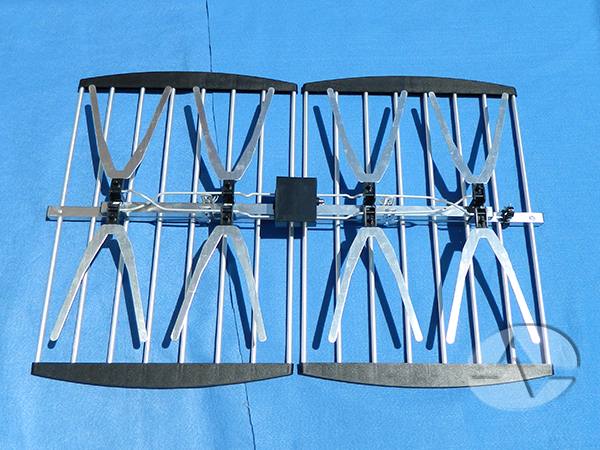
The main antenna assembly
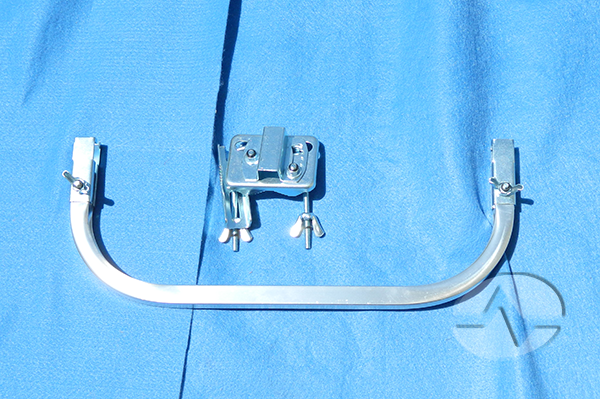
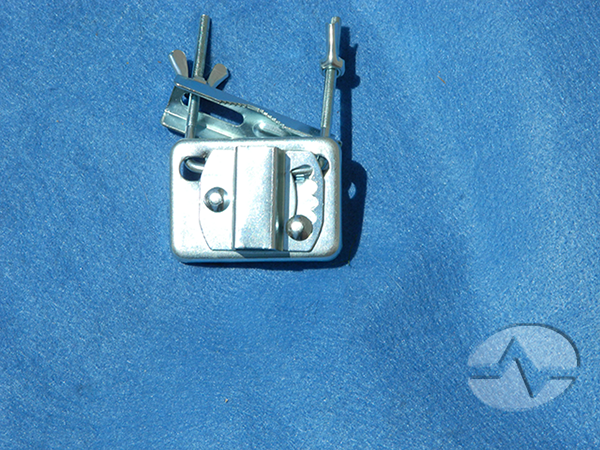
The rear bracket and mounting assembly
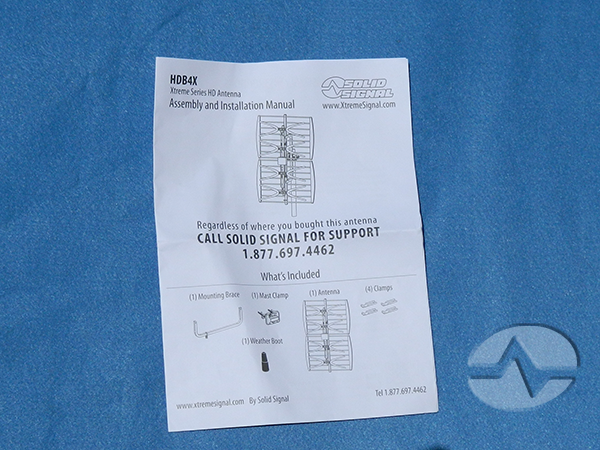
Instruction and assembly guide
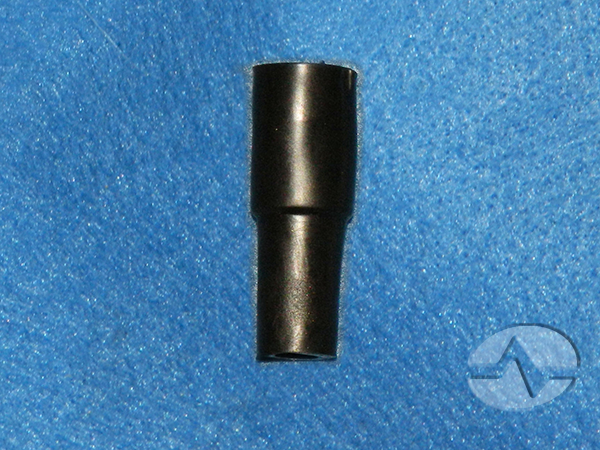
Weatherproof boot (packaged with instructions)
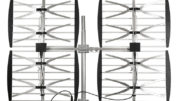
Putting together the main antenna assembly
The main antenna is almost completely assembled when you get it. All you need to do is separate the antennas (the x-shaped part) from the reflector (the bars with the plastic.)
Find the wingnuts roughly halfway between the outer edge of the main antenna and the center and loosen them slightly. Pull the antenna away from the reflector until it cannot go any further.
Tighten the wingnuts to keep the antenna separated from the reflector.
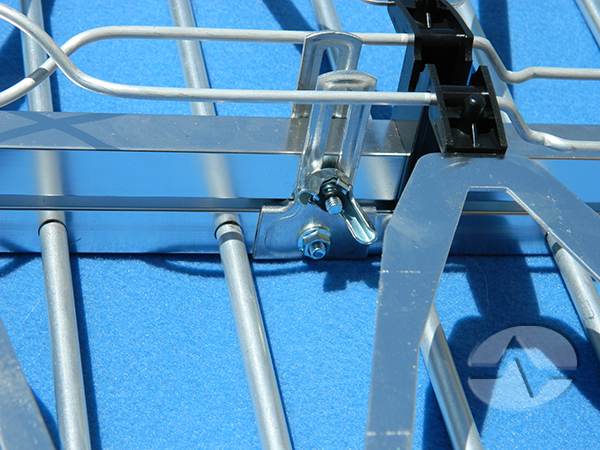
Attaching the rear bracket and mounting assembly
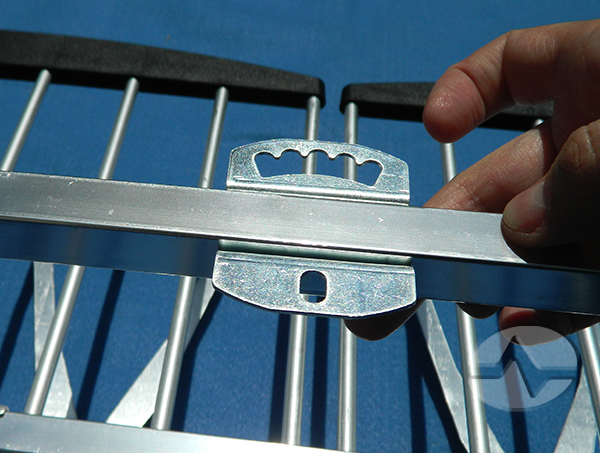
The rear bracket attaches behind the reflector. To install it, find the wingnuts at the edges.
Loosen the wingnuts until the two pieces of the clamp separate enough that you can wrap them around the center spine of the antenna.
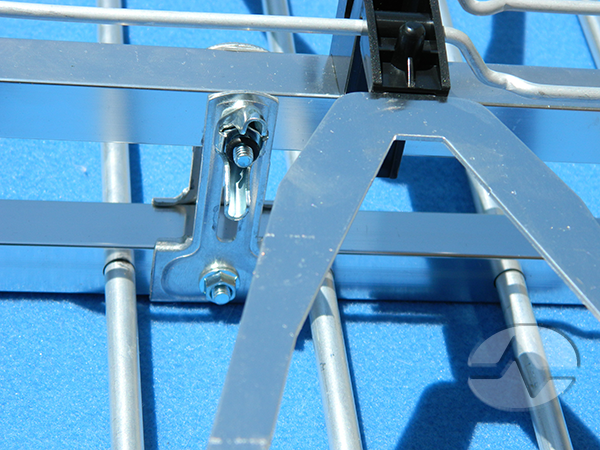
Place the bracket midway down the center spine and tightent the wingnuts. Be careful not to overtighten.
The mounting assembly can be used to tilt the antenna up and down if necessary. For the most part it should remain at the setting shown below so that the antenna is level. It can be adjusted after you have finished mounting the antenna.
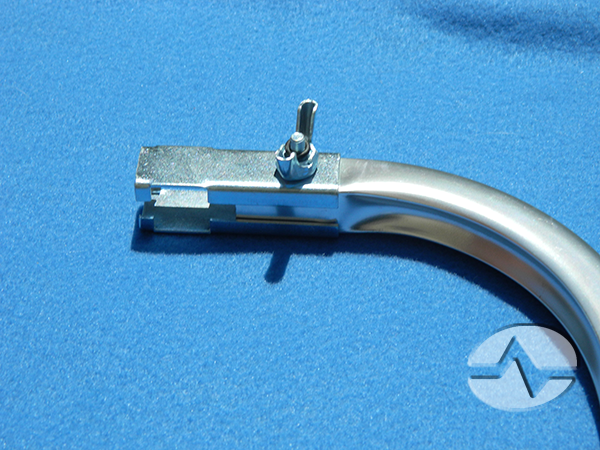
Start by disassembling the mounting assembly. Remove the two nuts (not the wingnuts), the two washers and the two rubber gaskets. This will let you place the inner plate against the rear bracket.
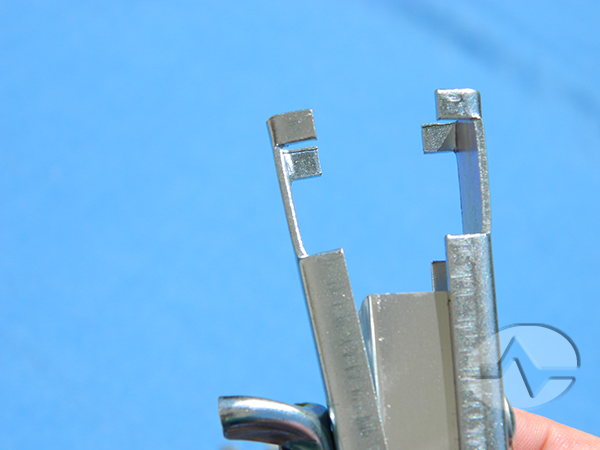
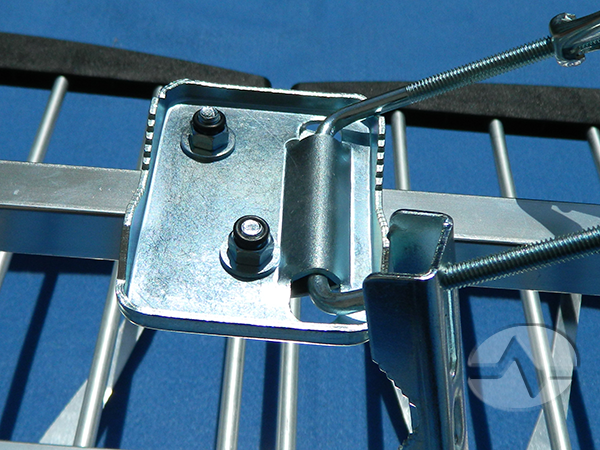
Place the outer part of the mounting assembly over the rear bracket. Thread a bolt through it from underneath.
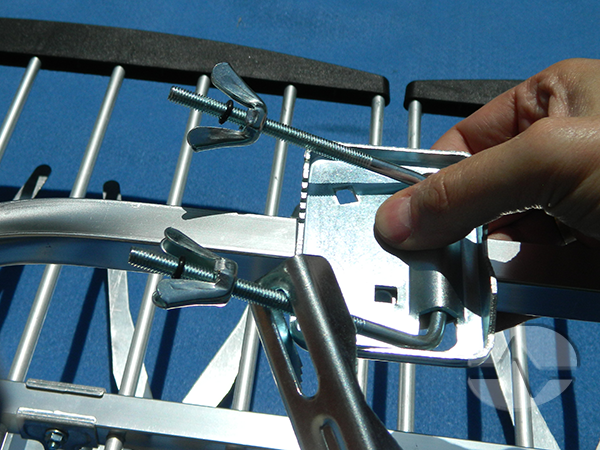
Place a washer over the bolt, then attach the nut with a 10mm wrench. Top it with the rubber gasket. Then, attach the other bolt the same way. TIP: It’s easier to start with the bolt shown at the bottom of these pictures because it will keep the assembly lined up as you attach the other bolt.
Mounting and attaching the cable
Mount the antenna so the F connector is facing down. Use the wingnuts on the mounting assembly to clamp the antenna to a mast.
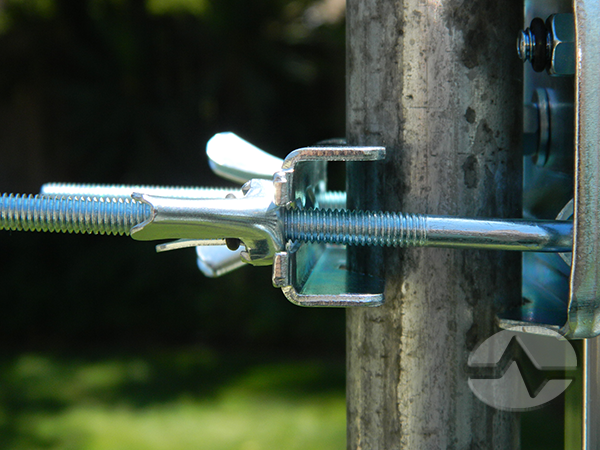
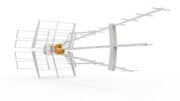
The finished antenna looks like this:
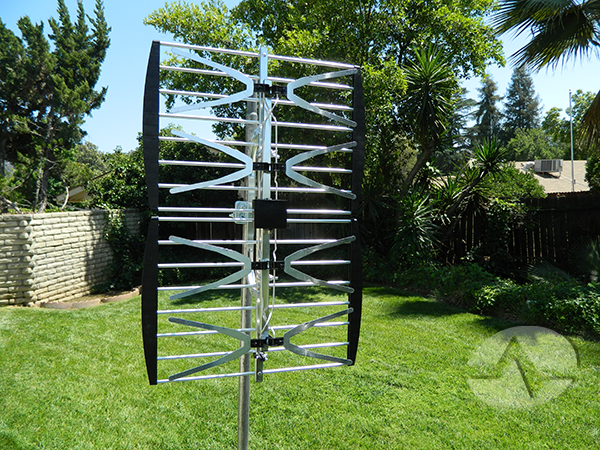
If you wish to use the weatherproof boot it is easier to attach it before putting a connector at the end of the cable. However, it can be done carefully with a connector attached. Here the boot has not been placed.
Attach a cable to the F connector on the antenna and thread it straight down between the two vertical rods. The black plastic guides will help keep it in place.
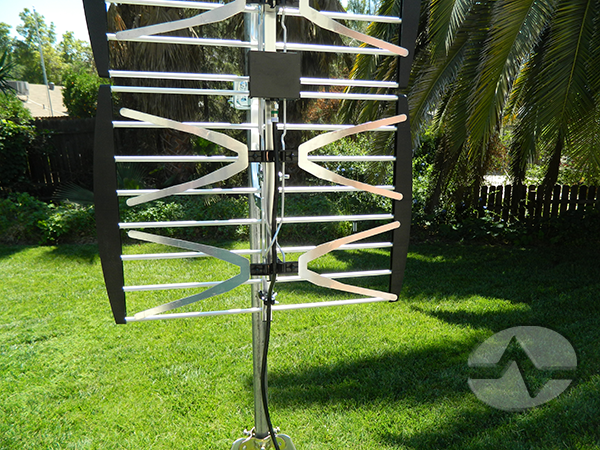
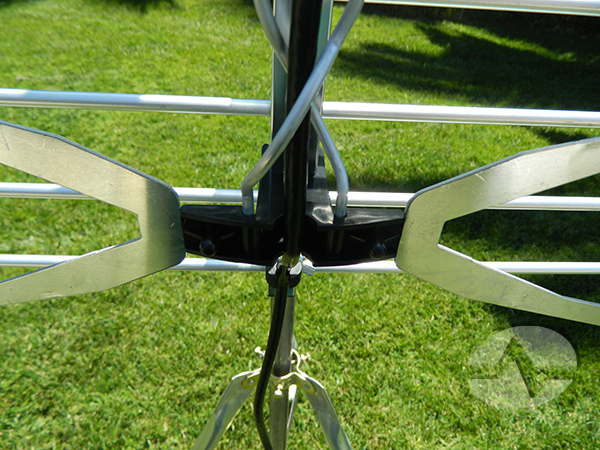
For added stability, clamp the cable to the body of the antenna by loosening the wingnut at the bottom of the antenna enough for the cable to pass through. Try not to crimp or damage the cable.
Find a convenient location for a grounding block and attach the antenna cable to it. Run the cable from the grounding block into the house.
Finally, use your TV’s menu to scan for off-air channels.
Here’s a video from our Xtreme Signal team with even more installation tips!
Be the first to comment on "HOW TO DO IT: Assemble the Xtreme Signal HDB4X"