
It’s no fun when the TV signal goes out. If you have DIRECTV, you know that the reliability is well over 99% as long as the system is set up right, but sometimes there are problems. You could be seeing a blocky picture, experiencing missed recordings, or just not getting any picture at all. You might see a message on your screen like “771- Signal Loss” and that’s a scary one.
A loss of picture can come from a lot of things. It could mean a broken cable, a badly-aimed dish, or even a problem with the broadcast channel itself. It can come temporarily in cases of severe weather, and the problem could seem to “fix itself.” In order to understand what’s going on, here are some basic troubleshooting steps.
Is the problem on one channel, some channels, or all channels?
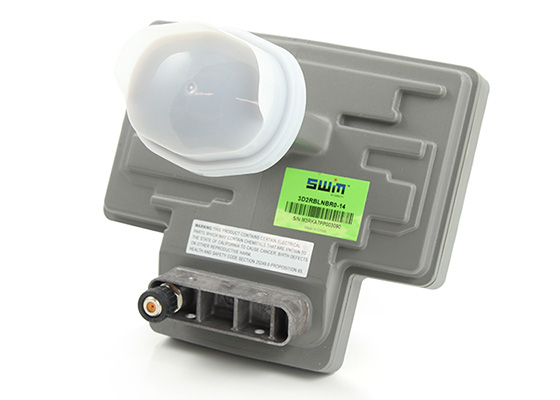
If you’re not getting any picture at all, not on any channel and not on any TV, it’s possible the entire LNB is shot, but it’s much more likely that there’s a cable break somewhere. Try to simplify things by running a new cable from the LNB to just one receiver. If there is only one cable connector on the LNB then you have a SWM system and will also need to attach the power inserter. If that new cable works, then inspect the old cables and try to figure out which one needs to be replaced. It might not be the one you think, because a problem anywhere in the lines can cause lost signal anywhere.
If the problem is just on one channel, it’s possible it’s a problem on the broadcast end and likely to fix itself. It’s really unlikely that it’s an LNB issue. You can try refreshing your services by going to DIRECTV Error Code 721 | DIRECTV Support or just try rebooting the receiver in question.
If the problem is on quite a few channels but not all of them, that’s where the LNB might be the problem. If you have four lines from your dish into an external multiswitch, that may also mean one of those lines is bad.
Check your satellite setup.
We have a really thorough tutorial on checking your satellite setup if you’re not familiar with the process. However, you might not need it. If you have a Genie or reasonably new receiver, you might just need the simple information in this tutorial.
If you do want to do the deep dive, here’s what you do. Go through every single satellite and if you find that all of the satellites with the same number give you nothing but zeroes, that’s probably a bad LNB. For example, if you see 103(s), 103(ca) and 103(cb) all give nothing but zeroes, that could be a problem with the LNB itself. Try this test on more than one receiver if you can, to make sure it’s not a problem with the receiver.
Look around for problems
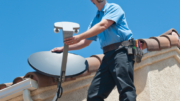
It’s possible a tree or something else might have grown up in the line of sight of your dish. Here you’re going to want to get up on the roof and with your phone’s compass app open, look straight ahead in the direction your dish is pointing. Then look 5 degrees to the left and 5 degrees to the right. If you see anything that might be in the dish’s path, that could be the problem right there.
Usually trees that have grown in and that threaten the satellite dish signal will let at least a little of that signal in, so you should see very low numbers on one of the problem satellites, not zeroes. Zeroes usually mean a broken line or a bad LNB.
Deciding whether or not to replace the LNB
If you’re seeing zeroes on a group of satellites and you’ve ruled out problems with the cable and receiver, it might be time to replace the LNB. Solid Signal has a great selection of LNBs and you can usually just get the one that looks like what you have. Or, while you’re in the satellite dish setup screen, it will tell you what dish type you have and you can just order the correct LNB based on that.
Replacing the LNB is a very simple affair actually. First, mark the position of the dish with a pencil using the indicators on the back of the dish. The dish probably won’t move when you change out the LNB but this is a good way to make sure.
If you are using a SWM system, unplug the power inserter. Don’t skip this step, it’s kind of important.
Then, disconnect the cables from the LNB using a 7/16″ wrench. There should be weather boots on the cables so it’s going to take a little effort. The LNB itself is probably screwed in with a pair of Phillips head screws, again this shouldn’t be hard. Then, put the new LNB in and connect the cables back up. That should be all it takes!
Get everything you need from Solid Signal
You’ll find all the parts you need, plus informative tutorials, when you shop the great selection at Solid Signal. Need more help? Give us at call at [email protected] and you’ll get all the free support you need!


Trying to set up a new portable antenna on rv. Screen is showing no swm detected?? Could my cable be bad?
Depending on the model of portable antenna, you probably don’t have a SWM. Email us at 877-312-4547 during the week and we’ll recommend the right accessories.