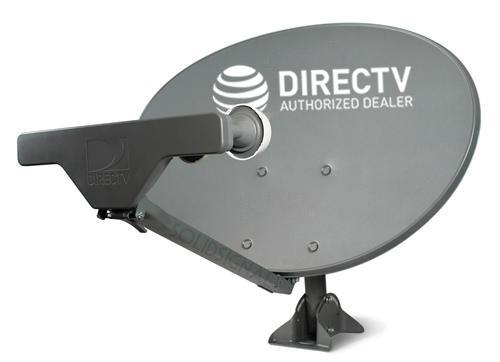
If you’re aiming your own dish, be prepared to make it perfect. You might get away with decent reception for the short term, in the parking lot, but if you’re putting it up on the roof you need real precision. An alignment error of just 1/32″ of an inch could mean you’re aiming hundreds of miles off target. It’s especially important with DIRECTV, and we’ll tell you why.
How DIRECTV satellite service works
Most satellite services use the Ku-band, which is the range between 12 and 18GHz, but DIRECTV also uses the Ka-band, which is the range from 26.5-40GHz. The higher the broadcast frequency is, the less it’s likely to disperse throughout the atmosphere. This is a good thing, because it means good strong signals get to the dish, but it also means that the beam itself, the thing you need to aim at, is smaller and harder to find.
DIRECTV uses the Ka band for the 99 and 103 satellites, which can be very difficult to aim unless you have a good meter. For the most part the aiming of these satellites is done with the tilt adjustment on the dish more than any other measurement. Azimuth (compass heading) and elevation (pointing up and down) will get you in the vicinity of the 101 satellite, but don’t stop there.
The 99 and 103 satellites, once considered “secondary” to DIRECTV’s operation, are really the primary satellites now. Those two locations have almost all of DIRECTV’s HD programming. They also host all of the service’s 4K programming and its international programming is moving to that location as I write this article.
But, you still start with the 101 satellite
The 101 satellites contain standard-definition video as well as all the other data that the service uses. It’s where your receiver gets its guide, its software, and its authorizations for all the channels.
Because it’s situated between the 99 and 103 locations, it’s still the best way to start. Use a receiver or a site like dishpointer.com to get a rough location to aim and zero in on it as best you can.
When you have a good aim on the 101 satellite, tighten everything down and then use only the adjustment screws on the back of the dish. If you’re using a satellite receiver to help you aim, you’ll need to wait up to 30 seconds between each turn to see if it makes a difference. Make extremely small turns, especially in tilt, to see if they make a difference.
Dither the dish
DIRECTV techs use a technique called dithering to get the best possible aim. First, they aim the dish as well as they can. Then, noting the signal strength they turn the adjustment screws slowly until they see a change. If numbers are going down, they turn back to the original point and turn the other way. If they started at (for example) -45dBm signal, they turn PAST its highest point. They measure constantly until the number sinks back to -45. Then they turn back exactly half the distance to get the exact center of the beam. They do this with all three adjustments, checking signal on all the major satellites.
Yes, it’s time-consuming but if you’re hitting the exact center of the beam every time you’ll rarely suffer from fade issues and your signal will always be nice and solid.
One last thing…
For a quick aim, using the receiver’s built-in signal meters is fine. However, if you’re really serious about aiming your own dish more than once, consider an AIM meter from Solid Signal. It’s undeniably expensive, but it’s both the easiest and best way to get a professional-quality result. It’s the only meter recommended by AT&T for its own installers.


