
Nothing lasts forever. Although there are a lot of DIRECTV DVRs from the mid-2000s still in service, eventually you’re going to replace the one you have. It may be a well-loved HR20 or a relatively new HR44 that just inexplicably stopped working early. Needing to replace your DVR is actually a fairly rare thing, but when it does happen you’ll want to take a few steps to make the transition as easy as possible.
Unfortunately AT&T won’t help you
Although I had heard a rumor in past years of automatic transfers from one DVR to another, it never seemed to come to pass. The way I heard it work was, your DVR’s settings would be backed up to the cloud and about once a day the playlist (not the recordings, just the list) would also be backed up. Then, if you got a new DVR, it would download those settings. If the recordings from your old DVR were available as on-demand programs, they would download too.
I have to admit that would have been pretty slick and pretty friendly. But, it never came to pass. Maybe the cost of doing it was too high considering how rare it is that these things fail. But, they do fail. Not only that sometimes people just want to upgrade. Like, if you’re still using the old-style non-Genie DVR and you want to move up to Genie.
So here’s what you have to do.
When you’re ready to change DVRs, I would make a pretty exhaustive study of what you have. You could type it all into a word document, but of course everyone has a camera on their phone and it’s super easy to just take pictures of the screen. Here’s your checklist.
1. Favorites Lists
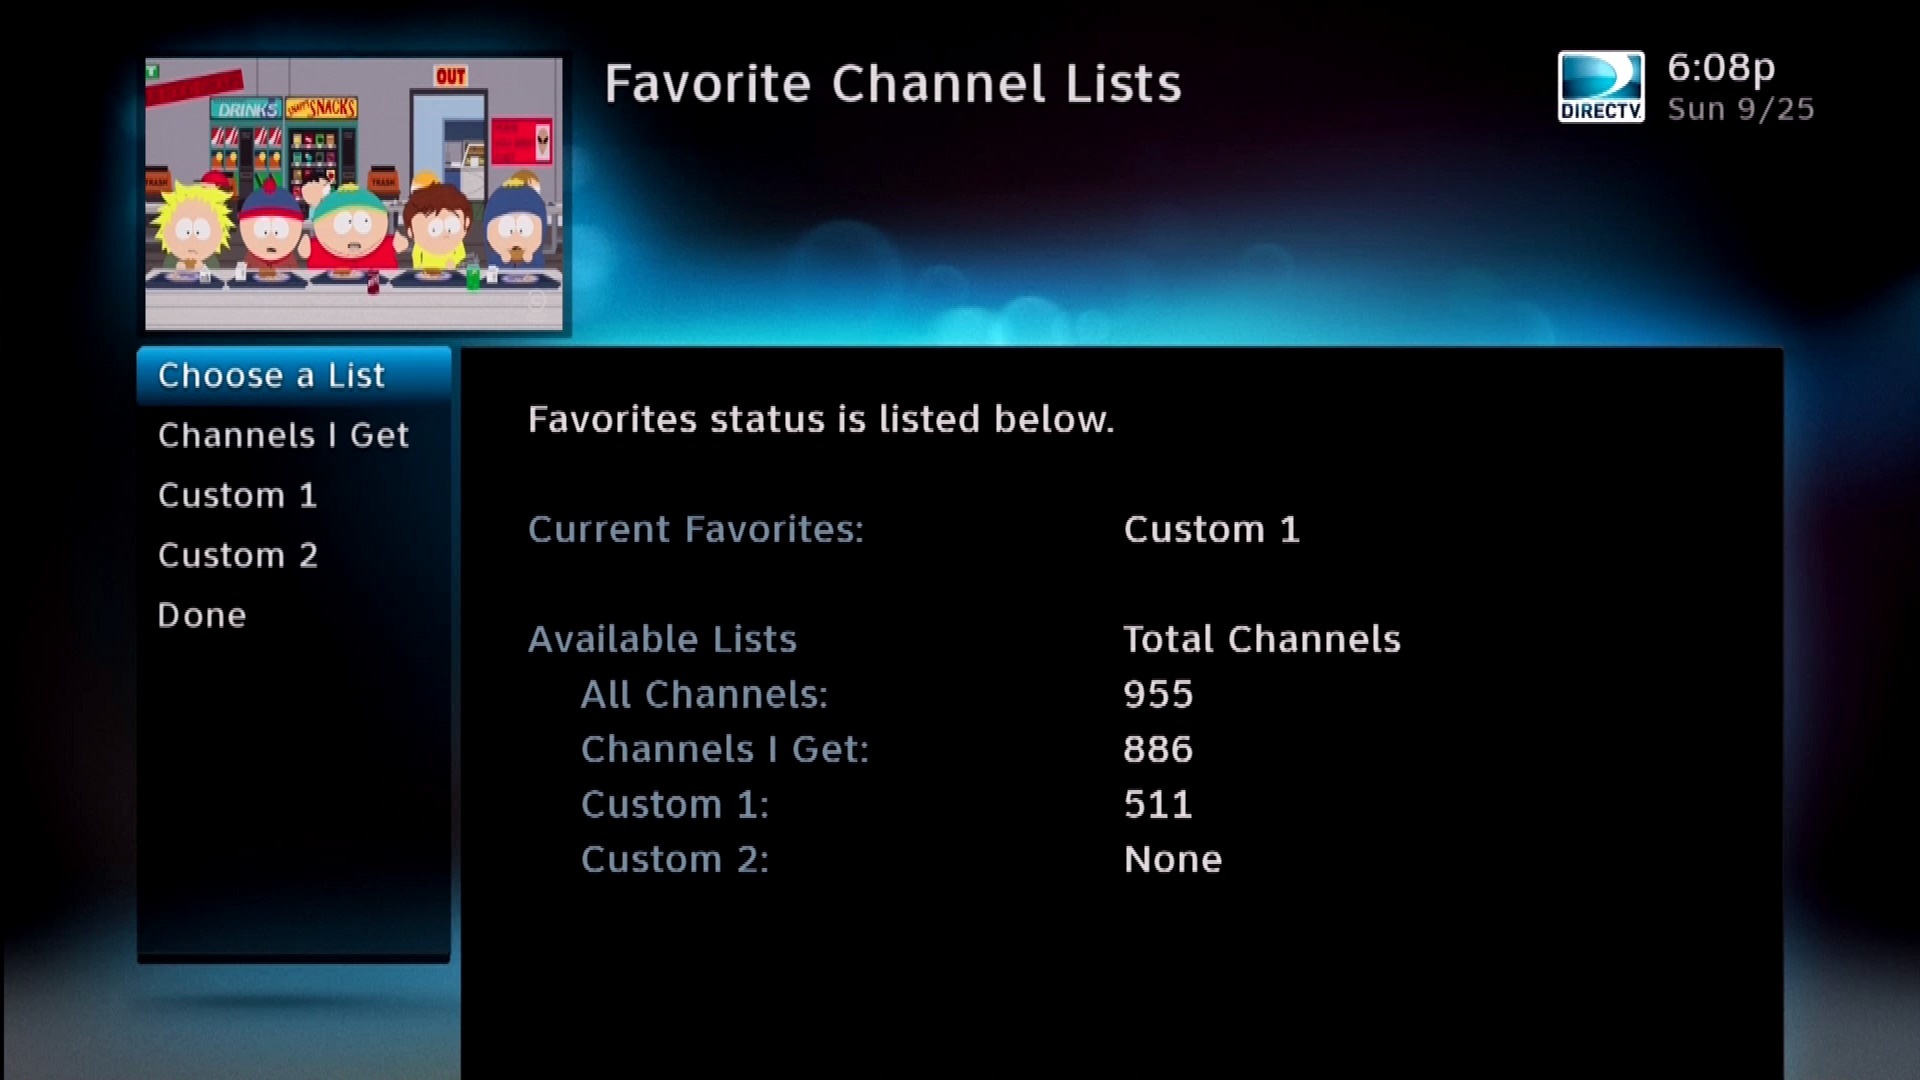
There are two favorites lists which allow you to create custom guides. Change to the first one by pressing INFO at live TV and arrowing over to Favorites. then press GUIDE and take pictures of every page. Repeat this with your other favorites list if you have one.
When you get your new DVR, press MENU, arrow to Settings, and choose Favorite Channels to set up a new Favorites list quickly.
2. Record Defaults
You will really want to take note of your recording defaults if you have set them. On the older DVRs press MENU then go to Recordings, Manage Recordings, Record Defaults. On the new menus press LIST then arrow over and up to Manage Recordings then over and all the way down to Typical Recording Preferences.
When you get your new DVR put in these preferences before you set up new recordings and it will be a lot easier to get everything set up.
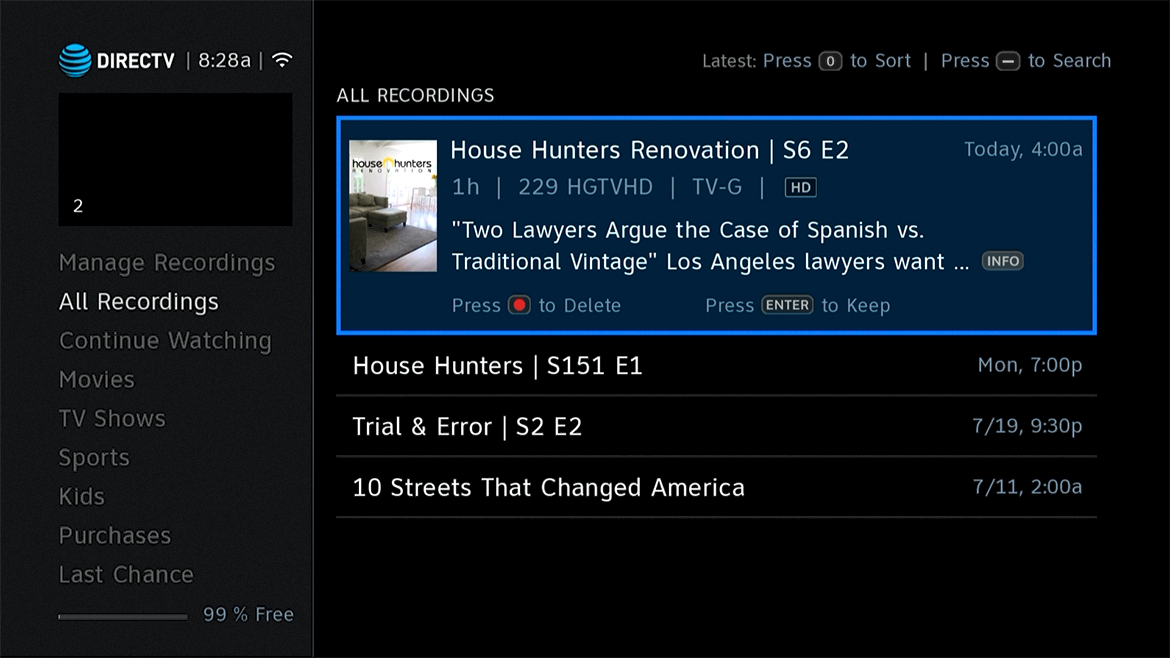
3. Recurring recordings (Series Links)
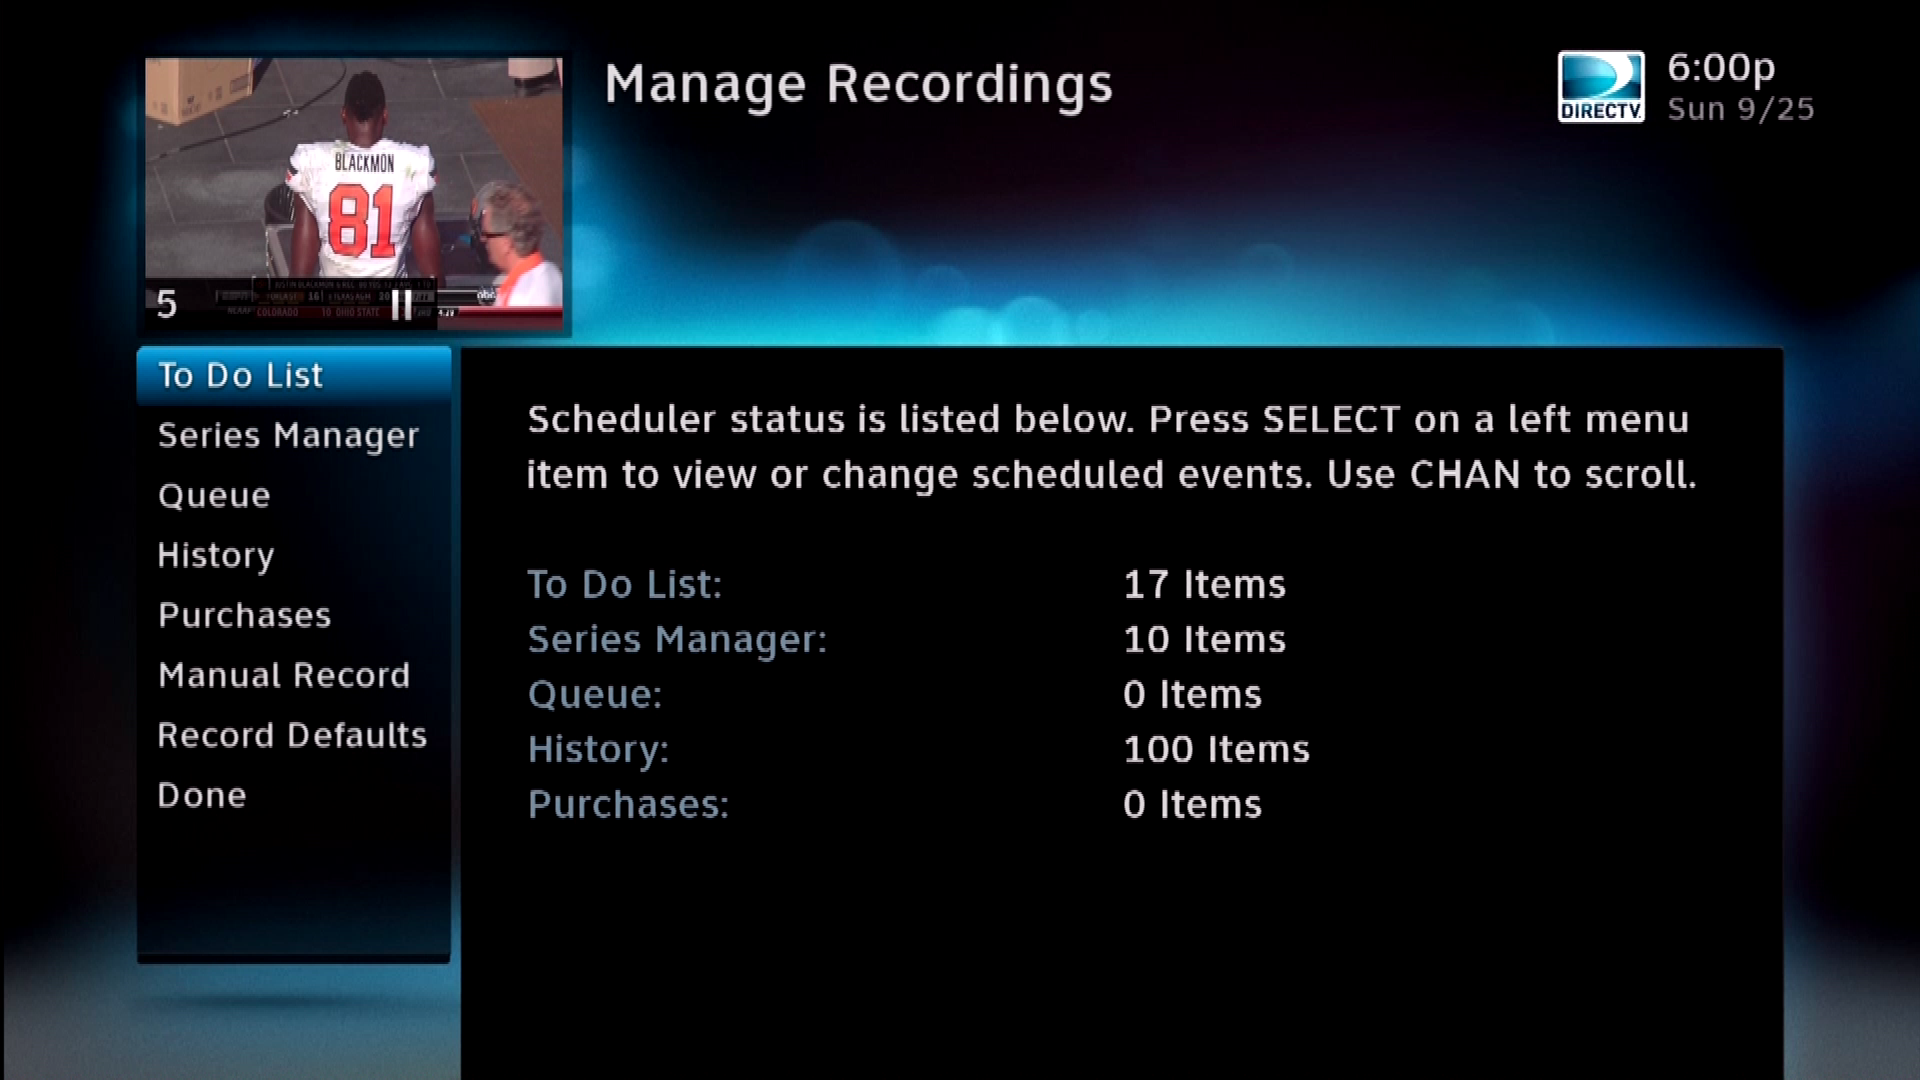
If you have an older DVR, go to the Series Manager by pressing MENU, then Recordings, Manage Recordings, Series Manager. If you have a Genie, press LIST, then arrow over and up to Manage Recordings and over and down to Series Manager.
Take pictures of every screen showing all the series you have set to record. When you get your new DVR it will take about a day to get all the guide data you need, then you can search for shows to record.
4. Quicktunes
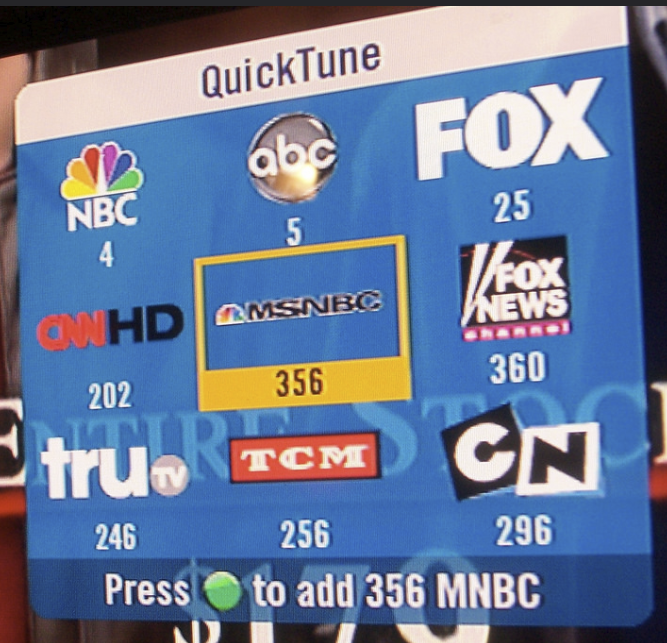
If you’re a QuickTune junkie, you use it all the time. If you’re not, you probably don’t even know what it is. It’s been a feature since about 2008 and it lets you choose up to nine channels for easy access.
If you’ve set up a QuickTune list, press the UP arrow on the remote and take a picture of what’s there.
5. Whatever else is important to you
If you use closed captioning a lot and have set up special settings, make note of them. If you don’t like the display effects or if you like native mode on, make note of that. If you’re the kind of person who does a lot of customization, go through every menu and take a picture. You’ll be glad you did later.


Be the first to comment on "Replacing your DVR? Here’s the checklist you need"