
What do you do when you want to control a device in another room? You have several solutions. We’ve always recommended the NextGen MultiRoom Extender as a way to add RF capability to any remote control. It’s a good solution in a lot of cases. But what about cases where even RF won’t help? High-powered home theater enthusiasts like to put their equipment in closed racks that are intentionally shielded against RF signals. What do you do then?
The simplest solution is to find a way to get the regular IR signals from the television (where you’re pointing) to the box you’re controlling. Sadly, that’s always involved IR blasters with dedicated cables or confusing IP control systems that don’t let you use your own remote.
There’s something better.
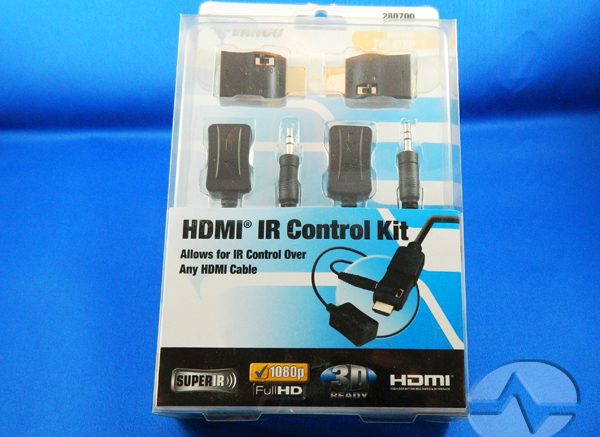
This is the HDMI IR Control Kit from Vanco. It’s a new product for Solid Signal and we think it fits a niche for our home theater customers. The idea is a simple one: send that IR signal from the TV to the box using the HDMI cable itself.
[QUOTE]How do they do it? HDMI cables have a separate wire for consumer electronics control (CEC) signals. These are signals used by some devices to control other devices. CEC hasn’t been as popular as expected, so there are a lot of devices that don’t use it. So, the HDMI Control Kit changes regular IR control signals so they can travel over the CEC wire. [/QUOTE]
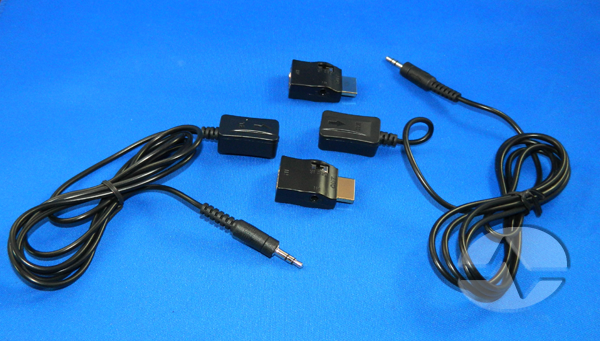
The kit itself comes in a hard cellophane retail package and includes two HDMI adapters, a transmit box and a receive box. An HDMI cable is not included. The box is attractive, even if it’s a little hard to photograph.

Installation couldn’t be easier. The first step is to disconnect the HDMI cable from your TV and from your device.
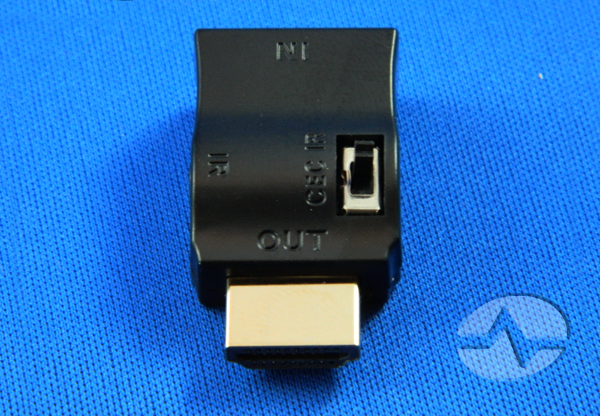
These adapters go onto the end of the HDMI cables. There is a switch marked “IR” on one side and “CEC” on the other. Make sure that “IR” is selected. If you select “CEC” then your devices will be able to communicate with each other using the regular CEC protocol, but the IR Kit won’t work.
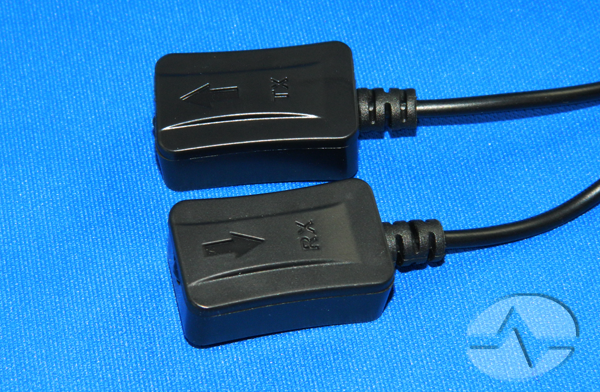
You’ll see that you have two nearly identical control boxes. One is marked “TX and one “RX”.” The “RX” one is closest to your TV and the “TX” one is closest to your other device. Connect the 1/8″ connectors into the adapters.
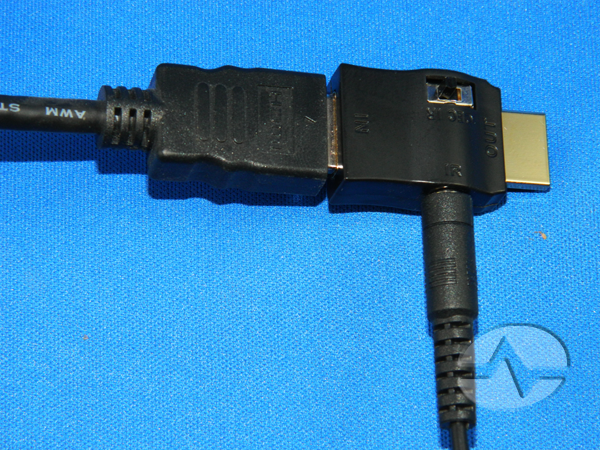
Depending on the cable, it may seem like the HDMI cable itself is not completely connected to the adapter. This is normal and will have no effect on the operation of the IR kit, as long as you’ve used reasonable pressure to seat the cable into the adapter.

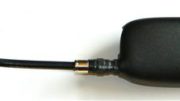
Finally, seat the RX adapter so that the little bubble is pointing outward (here it’s sitting at the base of the TV) and put the TX adapter near the front of your other device. It may take some experimentation to figure out the proper placement.
We put this to the test at a typical home setup and it worked perfectly. This turns out to be a great solution for a temporary TV hookup like moving a TV into a kitchen or out onto a deck (once barbecue season starts.) Rather than run a satellite cable out to the temporary location, just leave the receiver where it is and use a 50′ HDMI cable to do all the work.
It also proved to be just the thing for a DIRECTV box that was inside a piece of heavy oak furniture. For some reason RF never seemed to get through the layers of hardwood and varnish (even though everyone says it should) but this worked great.
As for multiple device support, we were able to put the TX box between a satellite receiver and a Blu-ray disc player that were stacked on top of each other and it worked perfectly.
The Vanco HDMI IR Control Kit is now available from SolidSignal.com and if you like to hide your equipment, it’s a good choice.
We’ve produced a little video that shows the HDMI IR Control Kit, including a little more insight on how to hook it up.

Be the first to comment on "Hands on with Vanco’s HDMI IR Control Kit"