
Hang around a home theatre blog like this one long enough and you’ll hear the term “crushed blacks.” Everyone talks about them, but if you’re new to home theater you may not understand what this means.
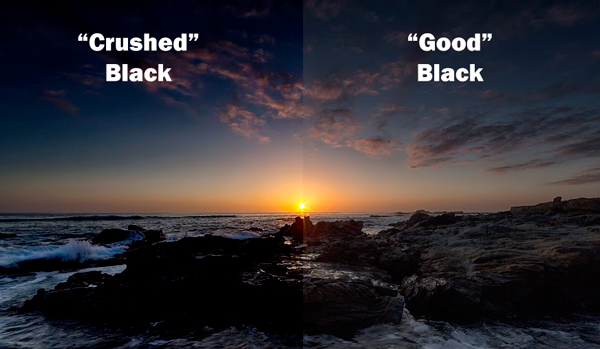
“Crushed blacks” means that details in the very dark areas are lost. It’s a lot easier to see than it is to define. So, look at the photo at the top of this article. At first, you’re probably drawn to the left side of the picture. The blue is bluer, the image is more dramatic. However, look again and you’ll see the problem. This photographer wanted you to see the rocks, not just the sky. On the left side, the rocks are pretty much one giant lump of black, and all the magical detail you see at the right side is gone. This is what we mean by “crushed blacks.”
How does this happen?
There are four ways that crushed blacks can happen. Two of them are out of your control, two of them are up to you.
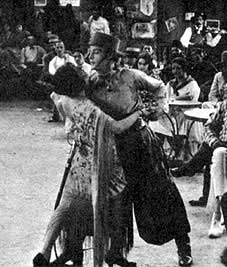
The first possibility is that the detail that you’re missing was never captured in the first place. Until very recently, cameras couldn’t capture as much detail as your eyes. Different types of film were used; some captured details in low light but had a lot of grain. Others did very well at capturing color but not detail. This is true of still pictures and even more so with movies.
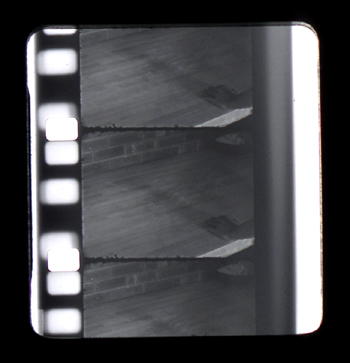
This image from a 1927 film doesn’t look so great but it’s the best they could do at the time.
Even in the 1980s, this was a big problem, and although film stocks got better and better, believe it or not the problem of crushed blacks while shooting wasn’t really solved until digital cameras started getting a lot of use in film, about five years ago.
Intentionally crushing blacks
With a digital camera, it’s a lot easier to take perfectly lit pictures without crushed blacks. Sometimes a photographer wants to create a weathered look to a photo, and apps like Instagram make it easy by applying those special effects to an image whenever you want.
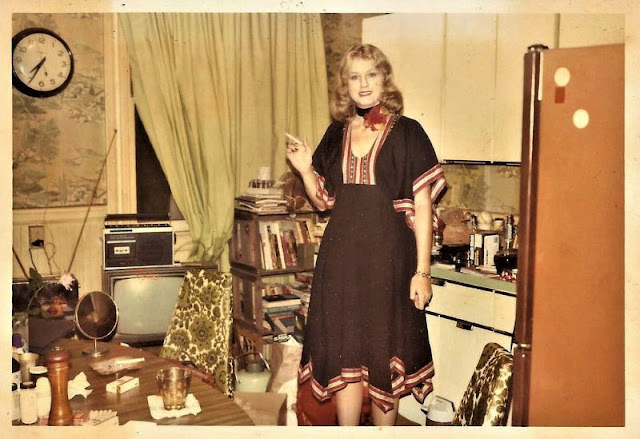 Photos from the late 20th century used dyes that faded at different rates while the photo paper slowly turned yellow. This tends to make color photos, especially those from the 1970s, look brown. Trust me brown was big in that decade but it wasn’t THAT big. The photos bring a warm feeling to those who lived through the time, and often times a filter will be used on perfectly good digital photos to crush the blacks and remove the blues.
Bad calibration
This is something you have some control over. You may have bought a very expensive TV but not realized that it was calibrated to look good in the store and not in your home. Or, you may have just played with the brightness and contrast controls until it looked good to you on one particular show, then done nothing afterwards.
Brightness and contrast controls on a TV are often hard to get right unless you’re looking at the right images. You can get calibration videos from the internet if you look. Using them is one way to know that you’re calibrating the right way. Remember, even a properly calibrated TV won’t look good all the time. Some programs, like ABC’s Dancing with the Stars tend to look overly colorful with crushed blacks. It’s a decision that they’ve made.
Inexpensive TVs
The most common, and most frustrating cause of crushed blacks is that an inexpensive TV just can’t show all the colors it needs to. Did you ever wonder why some TVs cost hundreds less than others? Less expensive parts… and the most costly part in a TV is the panel. Not all panels are created equally and some panels just can’t show details in black areas. This was very frustrating in the early days of HDTV because even $15,000 televisions suffered from crushed blacks. Today, if you’re paying over $1,000 for a TV it will probably show you every color possible. Of course if you paid a lot of money for a TV just a few years ago that’s not going to help you feel better.
In the case of inexpensive or older TVs, the best thing to do is calibrate them as well as possible to try to keep the crushed black problem as small as possible.
Above all, remember that it’s your TV, and you have a right to set it the way you want. As we get older we lose the ability to see very dark objects anyway, and if you’re ok with crushing a few black areas to get a better picture overall, that’s perfectly fine.
Oh, and when you’re shopping for those accessories to help you live your best digital life, check out Solid Signal.


Be the first to comment on "What are “crushed” blacks? (and why are they bad?)"