
You remember these, right? About 5 years ago DIRECTV started selling custom remotes with NFL logos at a premium price. They stopped making them, and it’s probably because they just weren’t selling that well.
Luckily, you can make your own team-colored remotes easily and all you’ll need is a remote, a precision screwdriver or two, and some spray paint. When you get a DIRECTV remote from Solid Signal, it’s all yours — do whatever you want to it. So we decided that one of our older remotes would literally “take one for the team” and we would transform it into a Red Wings remote.
This works best with the older style DIRECTV remotes – we found out the hard way that the Genie remotes don’t come apart terribly easily and once they’re apart you really can’t put them back together.
Originally we were going to transform it into a Tigers remote but, as it turns out, we didn’t have any spray paint around the lab that was the right color blue. We had plenty of red though, so there you go!
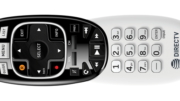
Step 1: Removing the grey insert
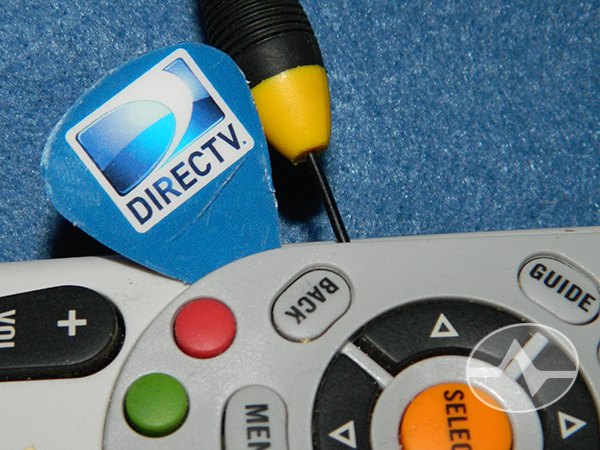
Start by gently pushing a precision screwdriver in the gap between the white and gray parts of the remote. A guitar pick (yep, just happened to have a DIRECTV guitar pick) works really well to keep the two parts spread apart. Slide the guitar pick around the perimeter and you should be able to ease the grey insert out.
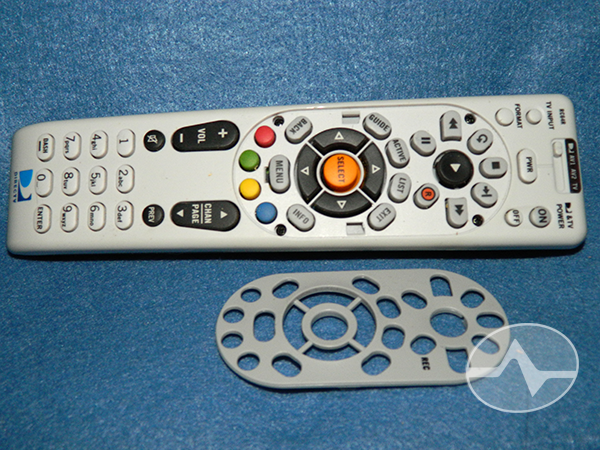
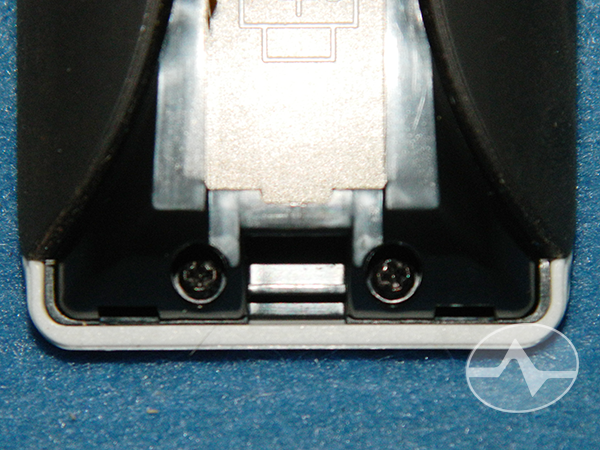
With the grey insert now removed, you’ll see four screws, one at each corner.
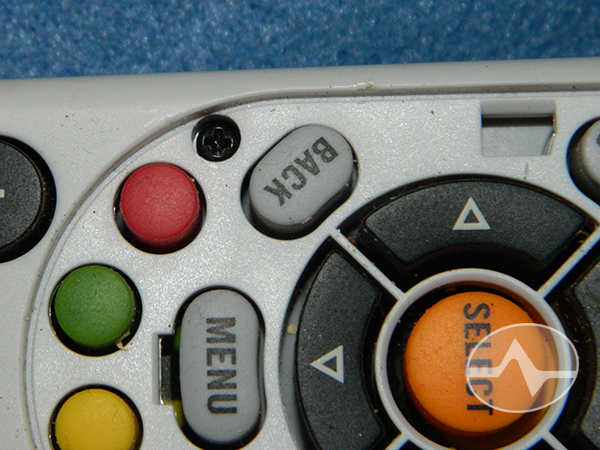
Remove all four screws and put them somewhere that the cat isn’t going to get to them for a day or so.
Step 2: more screws

There are two more screws behind the battery hatch on the back side. Take them out too.
Once that’s done, gently pry the top of the remote away starting at the area around the battery hatch. Slow and steady works best here.
Step 3: The slider
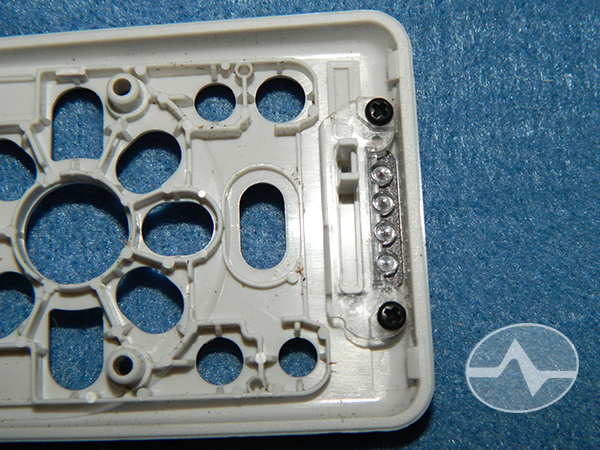
The top slider is screwed in from behind with two more screws. Unscrew them and carefully remove the slider and plastic insert, leaving only an open hole.
Step 4: Prep and paint
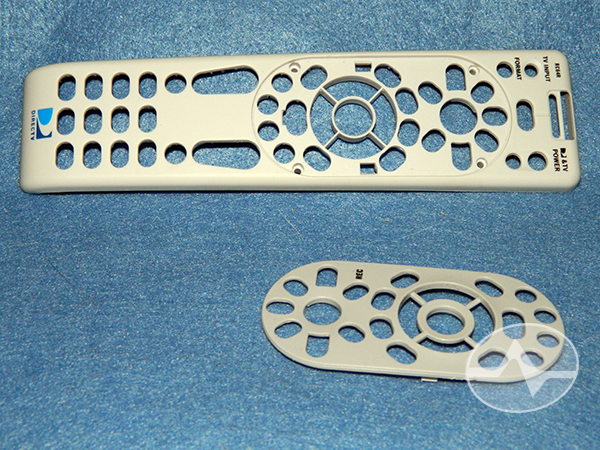
After you’ve removed the white and grey pieces, a little wash with some soap and water will get rid of fingerprint oils and help the paint stick better.
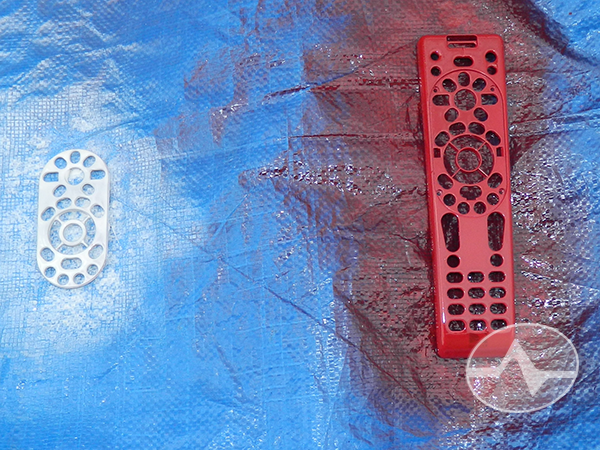
Time for paint. Luckily our Detroit weather let up long enough for us to do a little outdoor painting. Depending on the paint you buy, it could take a few hours or a few days for the paint to dry.
When it does, just screw everything back together! The only tricky part is making sure that the two plastic fingers in the slider are actually touching the switch underneath. Test the slider and make sure it feels right before you reattach everything.
The final result
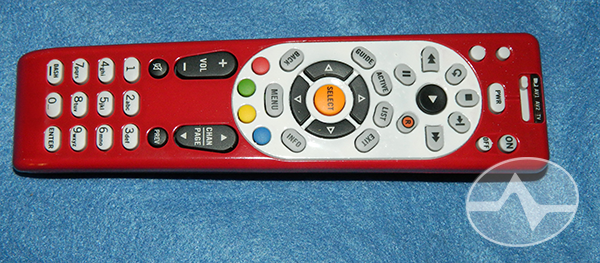
We were tempted to put on some stickers but the final result looks great as is! We treated it to some spray polyurethane to make it a bit more durable, which took another day to dry properly.
No it doesn’t look great as is.. It’s only 1 color.. No stripes and no team logo it’s just a red remote.. Nobody would see that and say. .Oh look a red wings remote how cool… Lol