
This document is available in PDF Format! Click here to download!
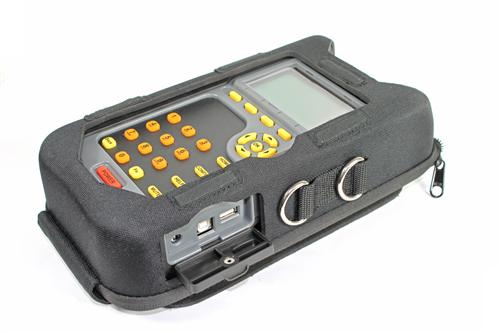
DIRECTV’s AIM meter is intended for installation professionals. If you’re a DIRECTV tech, you’ll generally get several hours of online training before going out into the field to use one. It comes with comprehensive instructions (available for download here) but sometimes, a meter finds its way into the hands of someone who just needs to use it to figure out a quick problem. Sometimes, a technician isn’t available where they are. In cases like that, having some basic understanding of the meter will help diagnose simple problems.
This is often the case for our marine customers, who rely on an on-board engineer to keep things running. This person may not have time to take a course or dig into a manual. So, I’ve created a simple set of steps to diagnose problems.
What you should expect
This document is really designed for common commercial installations that use a 6-wire DIRECTV LNB. If you use a 4-wire LNB or have a marine dish with only two wires or four wires, this document still applies. Just ignore any lines in any diagrams that you don’t have. For home users with single-line systems, you can still use this document but it really isn’t designed for that kind of installation.
Basic AIM meter instructions
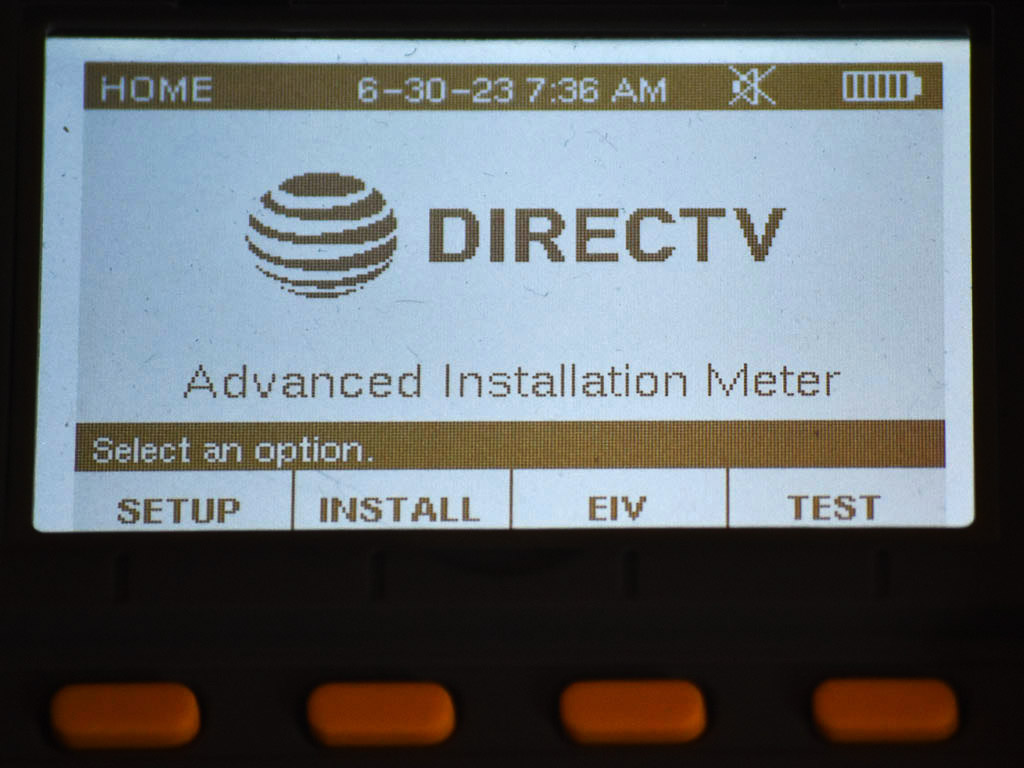
Step 1: Power on the AIM by pressing POWER and holding until the meter comes on. When you see something like this screen press the button under SETUP.
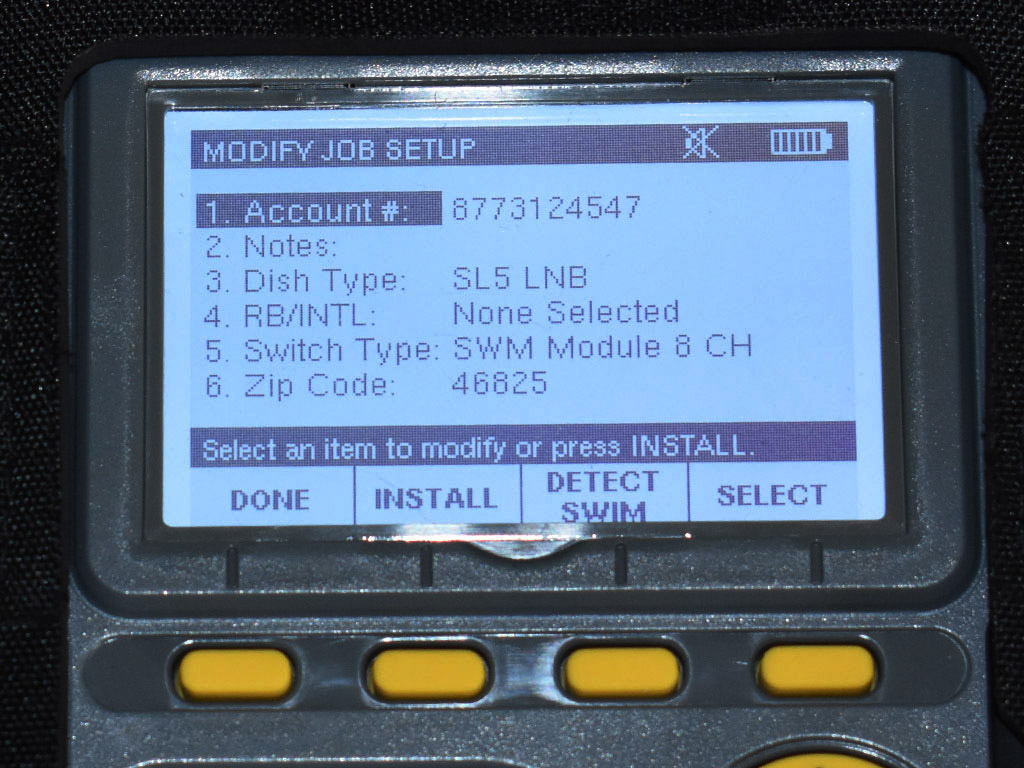
Step 2: Use the arrow keys on the meter to go to DISH TYPE and press OK. Choose the correct dish type. If you don’t know your dish type, talk to your Signal Connect representative. Then repeat the process with RB/INTL and Switch type. If you don’t know these answers, your Signal Connect representative can help. Then press the button under DONE.
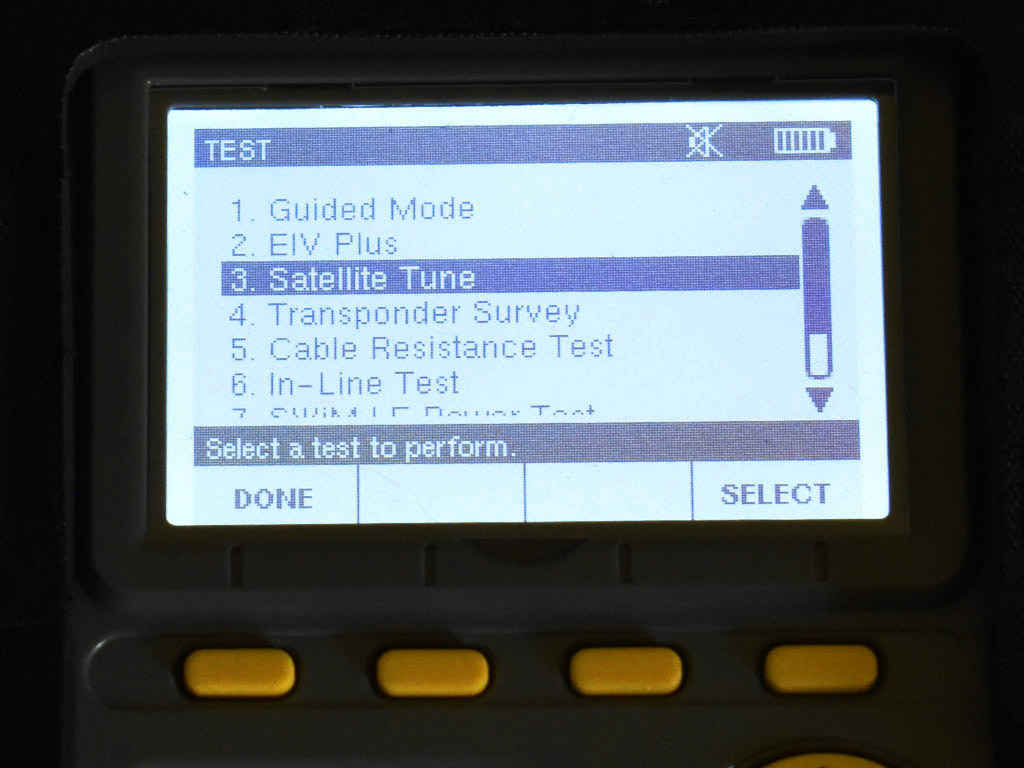
Step 3: In the main screen (shown in step 1) press TEST. Use the arrows to go to 3. SATELLITE TUNE and press OK.
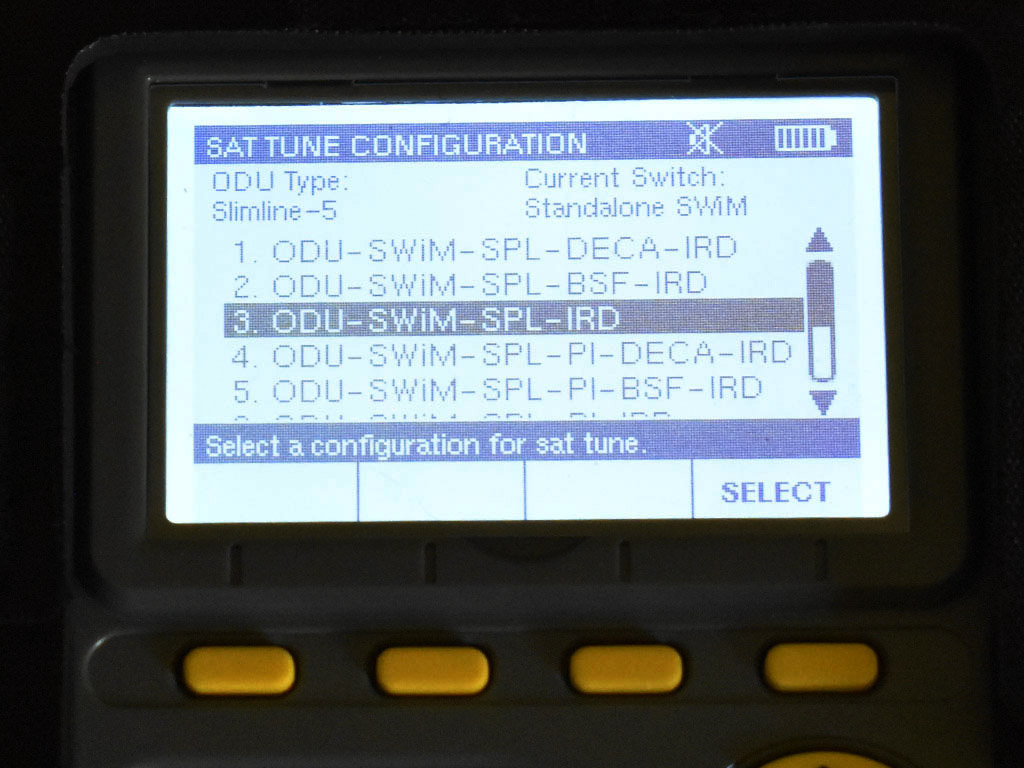
Step 4: Choose the wiring configuration. In most cases (or if you are not sure) it will be 3. ODU-SWIM-SPL-IRD. In other words, there is a dish (ODU), a multiswitch (SWIM), a splitter (SPL), and a receiver of some sort (IRD.) Press the button under SELECT.
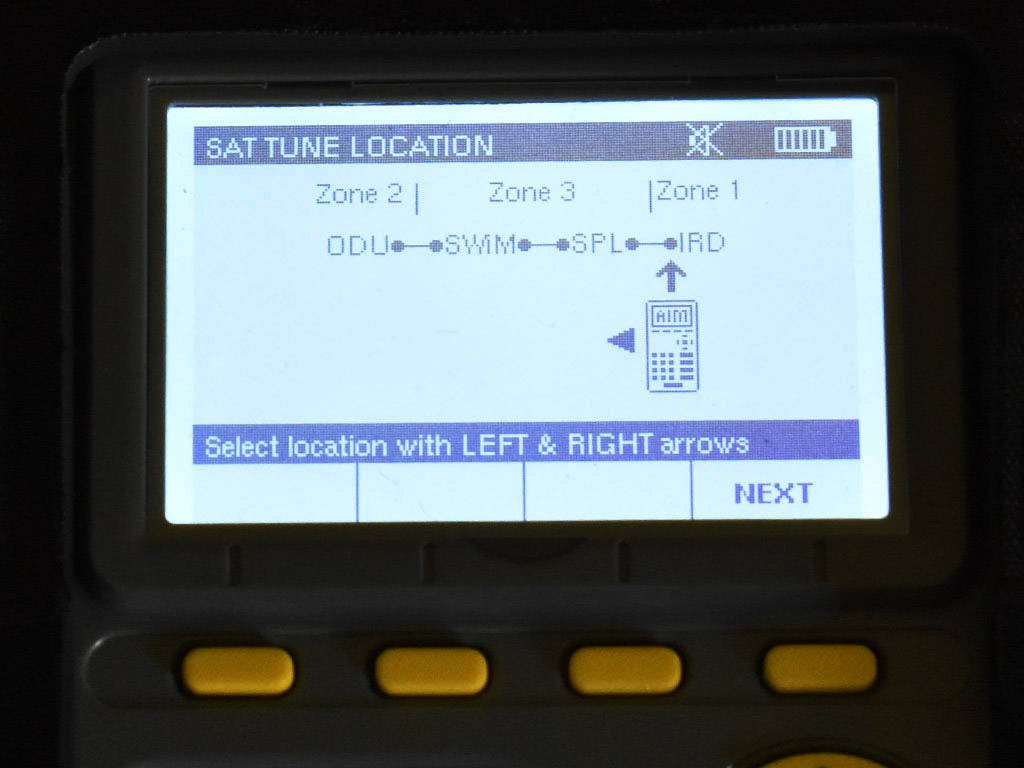
Step 5: Choose the location of your meter. Generally this will be all the way at the end of the wiring flow. Use the arrow buttons to move the meter icon all the way to the right and press the button under NEXT.
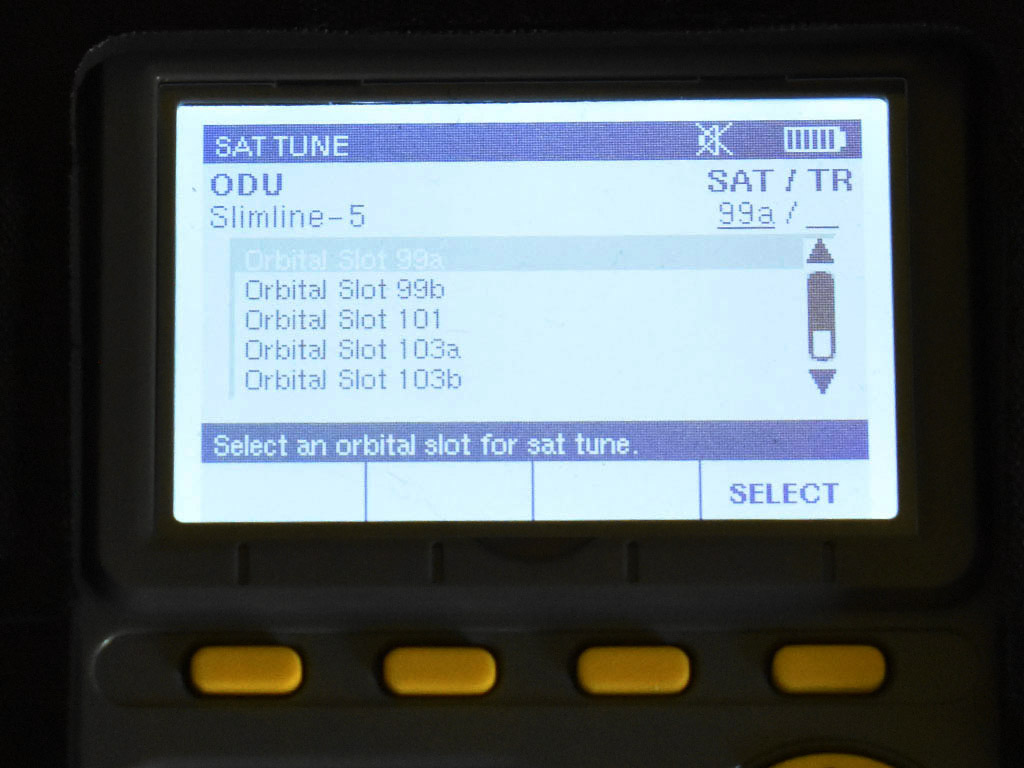
Step 6: Choose which satellite location you want to tune. If you are not sure which one to tune, start with the top choice and select. You can go through 99, 101, and 103. It is not necessary to test 110 or 119. Use the arrow buttons to choose and press the button under SELECT.
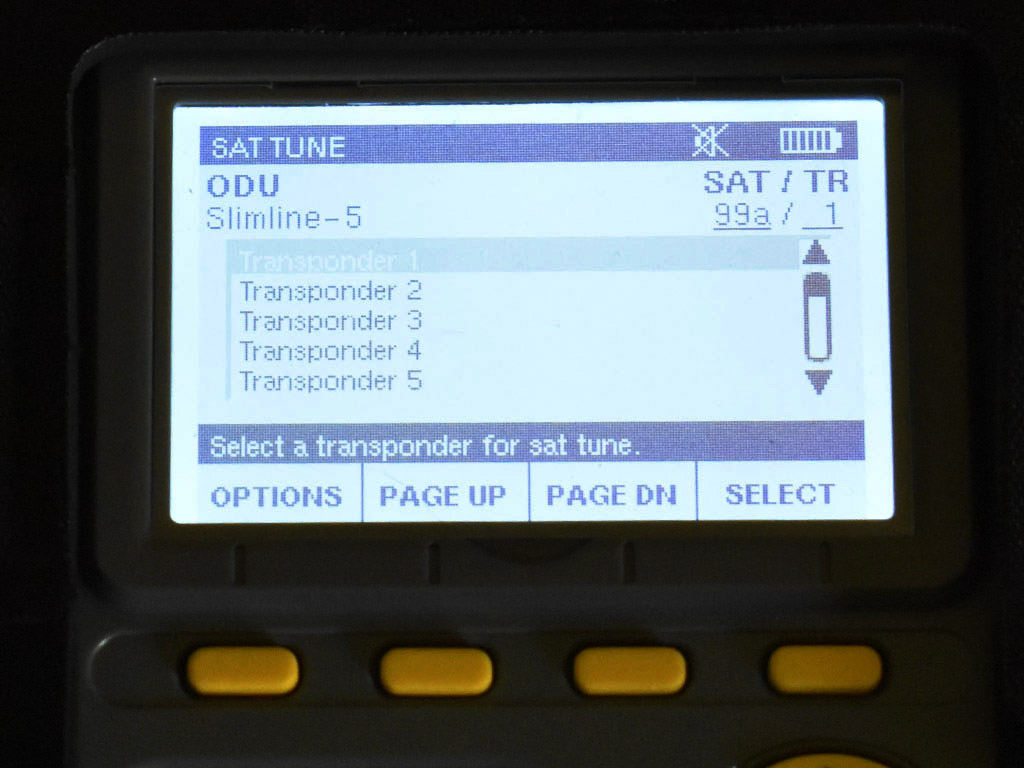
Step 7: Choose the transponder to test. Generally start with 1 and move down. Use the buttons to choose the highlighted transponder.
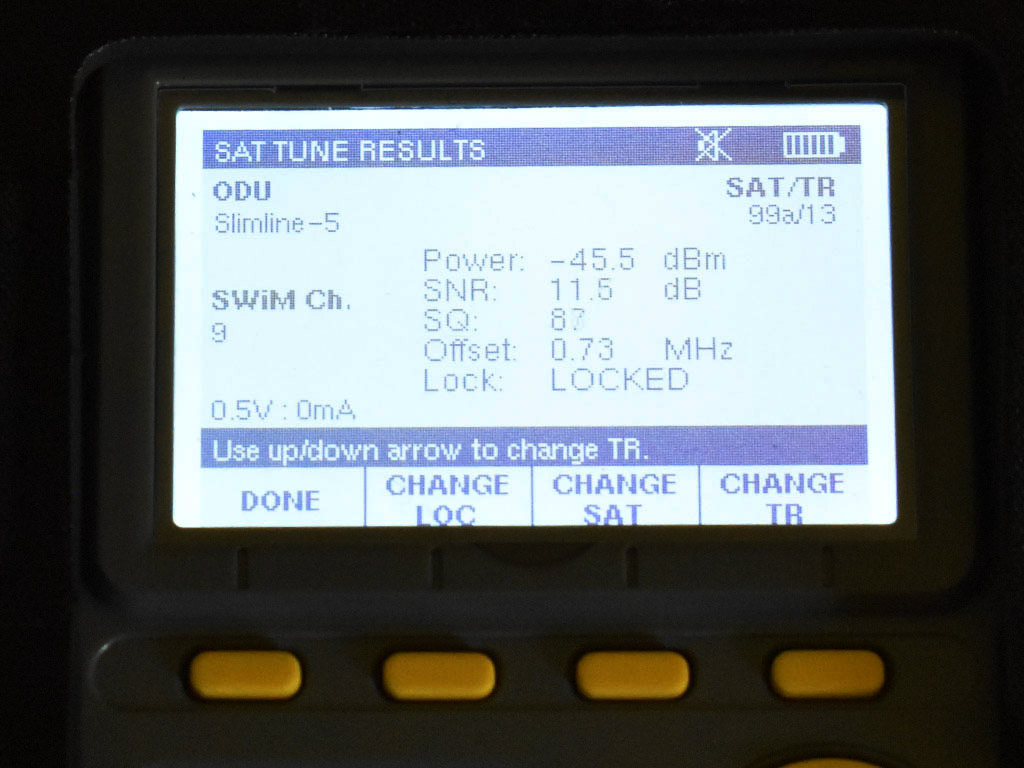
This is what a successful tune looks like. You want the LOCK indicator to say LOCKED. From this screen, you can choose a different satellite, location, or transponder (TP.) When you are done, press the button under DONE.
Expectations in a commercial system
In a commercial satellite TV system, a polarity locker is used. This device allows only one specific type of signal on each line. Therefore, when you test a cable, you should only see signals from some satellites and not others. This is normal and what you expect to see. The base of the SWM expander or SWM will show you what signals you should expect to see on each cable.
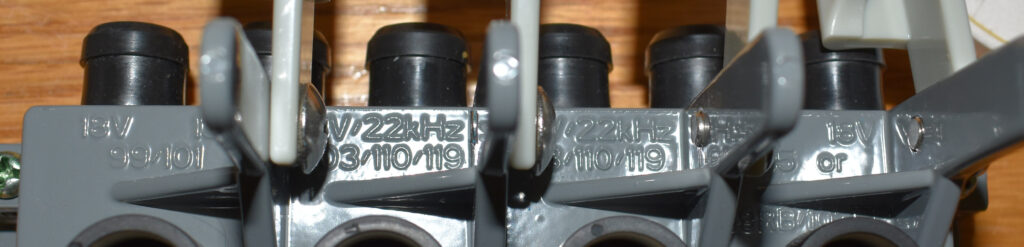
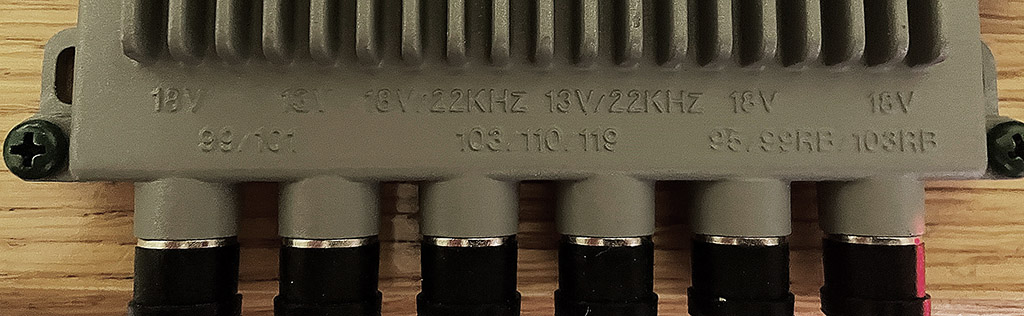
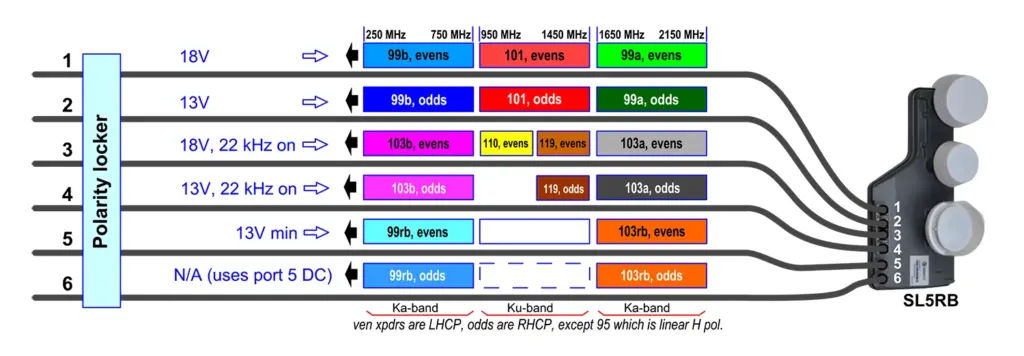
In other words, if you disconnect line 1, which carries 18 volts, you should expect to see even-numbered transponders on satellites 99 and 101 and nothing else. On line 2, you would expect to see odd transponders from 99 and 101 and nothing else. Here is a diagram which shows what satellites and which transponders are found on which line on a 6-line LNB.
Basic Test Procedure
Start by testing each line to see that you are getting the expected signal and only the expected signal. If you see a signal on a line which does not belong there, trace the line to make sure it’s the one you think it is. Test even and odd transponders.
Test at least one transponder on 99a, 99b, 101, 103a, and 103b satellites. You should not have to test 110, 119, 99db, or 103rb. If transponder 1 does not give you an expected result, choose a different transponder until you see a signal that is greater than -60dBm (for example -45dBm) and where the lock status is LOCKED.
If you have signals on satellites you don’t expect, trace the signal flow and make sure the polarity locker is properly installed.
In general you should not have to test lines 5 and 6.
Still having problems?
If you’re still having problems, call the experts at [email protected]! If it’s after hours, or you prefer email, fill out the form below.


Be the first to comment on "Basic AIM meter instructions for commercial installations"